We're Designers. We like to Decorate, while we Eat Chocolate.

Saturday, January 24, 2015

How to Make a Fresh Boxwood Wreath

So easy to make a boxwood wreath!  I hung mine on my kitchen window over my sink, so I can enjoy it while I'm doing such a mundane task.  I didn't preserve my branches (that step takes a few weeks of soaking them in a solution so they won't lose their color) but mine has been up for over a month and still looks beautiful and green!

This project took about an hour, from cutting my branches outside in my yard, to tying them around my wire wreath form.  Couldn't be easier. Then I hung it on my inside window with a clear command hook.


I was actually super sick when I made this,  I had that nasty flu, but was desperate to get ready for a Christmas Party coming up at my house.  So I decided to push it for an hour, and then couldn't fool myself any longer and spent the rest of the weekend on the sofa!  Thank goodness for Tamiflu--- finally!
The finished product.

Wednesday, July 30, 2014

Summer and Year Round Moss Initial Wreath

While on vacation in Colorado this summer, I was hired by my sister and hubby to design their nursery for their upcoming arrival, but I also felt like I needed to spruce up their entryway.  So of course I made a wreath!


I got all my supplies at Hobby Lobby:

2 Packs of sheet moss ($7 each)
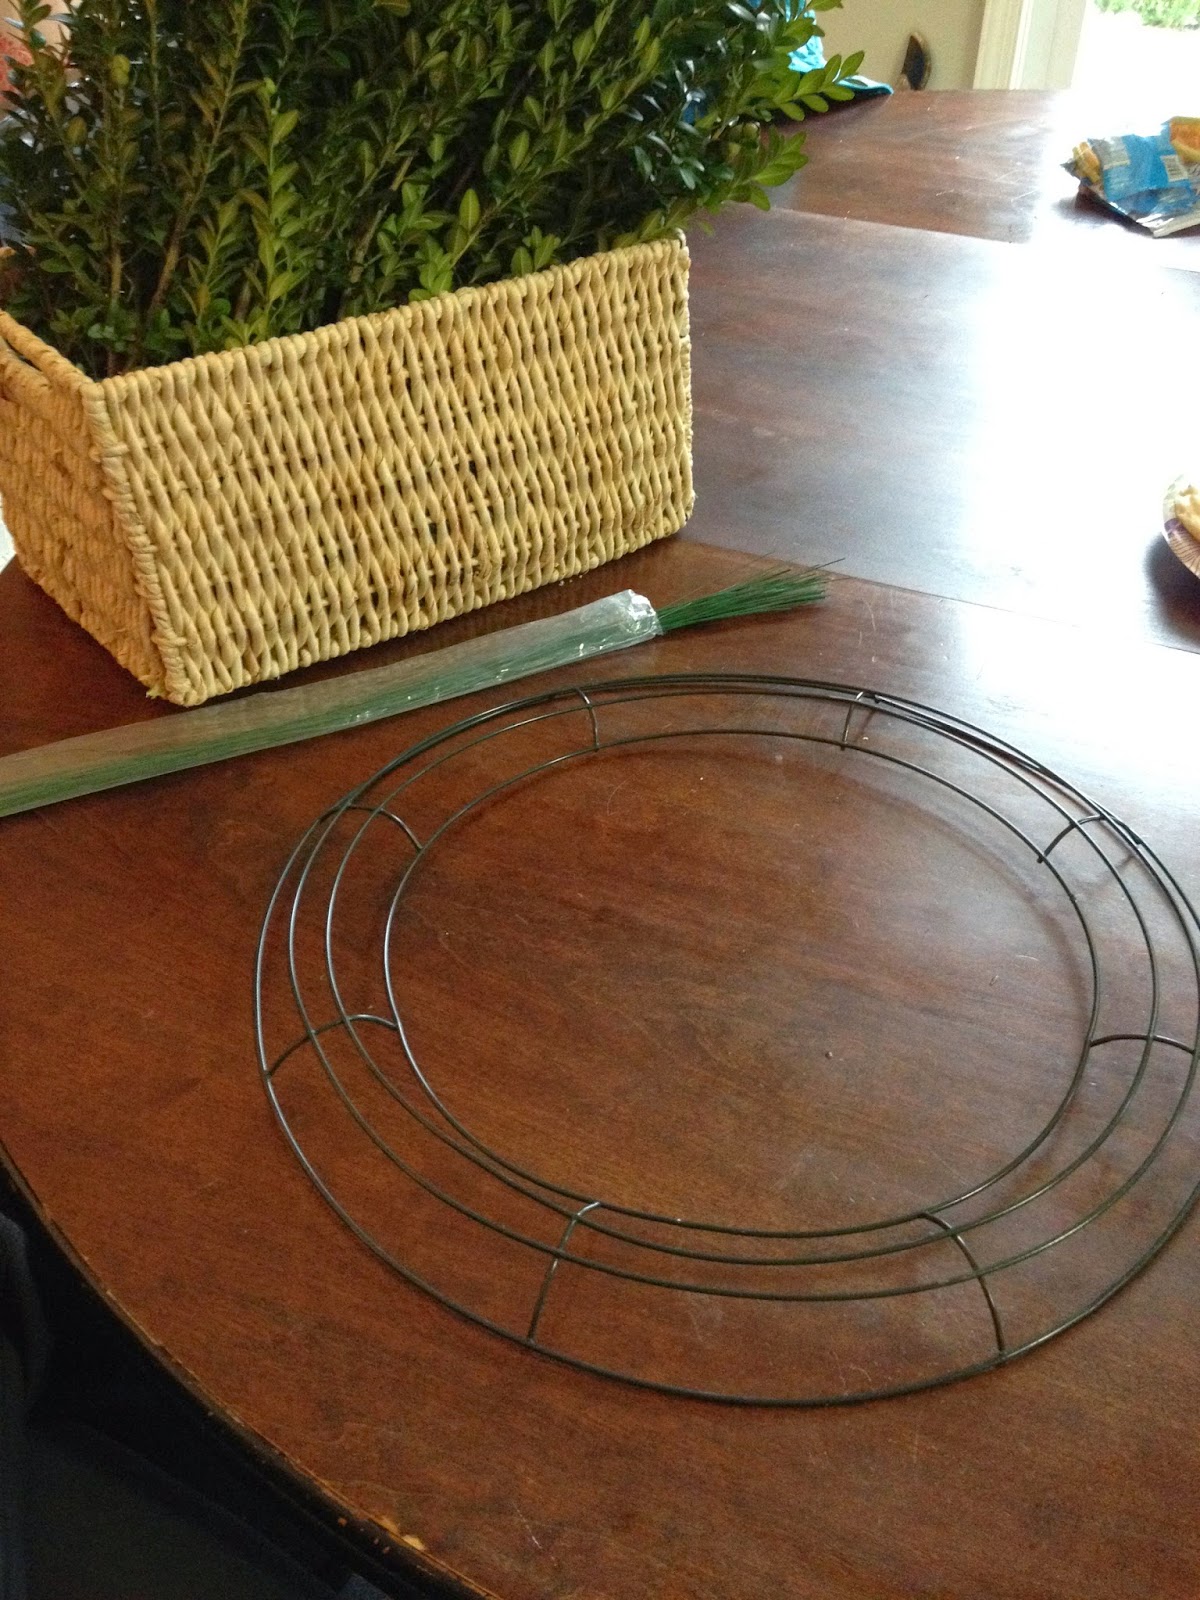
green floral wire ($3)
hay wreath form ($5)
Burlap with nailhead trim Letter T (in the wall decor section) ($10, half off $20 sale that week)
Burlap Ribbon ($??)
4 Gingham Drawer Pulls  ($3 each = $12)
Large Door hook (to hang wreath with) ($5?)  (I couldn't remember what color their door was, I think I'll swap out the black hook for a clear one when I find one.)

I started by cutting the moss in a shape to cover the wreath, then I just used the pieces of floral wire to wrap around the wreath.

FRONT:

BACK:

 Then I made the bow, just like a hair bow, fold your ribbon like a fan and pinch the middle, then tie the middle with floral wire to hold it tight.  (Crazy summer hair! wtheck?:-)
 

The bow needed something in the middle, and that's where I ran to the car and grabbed the drawer pulls I was going to return from another project, and tied floral wire around the drawer pull base, and the wire was long enough to tie around the bow also.  (Sorry should have taken a side view of this part.)


Then I attached the pulls on the greenery the same way, and Voila!  To attach the "T" I hot glued the T where it would touch the wreath, luckily it was a snug fit and it slid in, hopefully the glue will hope secure it...

If you look closely, the green floral wire does show on the front, but it's exactly the same color so it blends in really well.


I tried to make it as neutral as possible, so it could be a year round wreath, it would even look great at Christmas time don't you think?  
Happy Decorating!  
Lauren


Wednesday, December 19, 2012

Christmas House Tour: Girls' Room


I've always wanted to do trees in the kids' rooms, but the frugal gal in me always put it off, thinking of using that money for something I could use year round instead.  Hosting the Relief Society Kringle Mingle this year finally gave me the excuse I needed.   

I am still in the process of redecorating Leah's room, but the main colors are Gray and Coral.   I sewed all the bedding, and don't underestimate those snowflakes.  There are around 30 of those suckers, and I'm not kidding when I say it took me over 6 hours (during General Conference) to put those things together, not to mention sore hands from cutting out the shapes  (Maybe I should work out?:-)).


I also stuffed some Christmas socks with batting and hung them up on the window frame, reminds me of the Who's in Whoville.  Should have found some coral and white striped socks but I was in a bit of a rush to get it done, so these ones worked for now.


Excuse the weird camera angle, (trying to show off more snowflakes without climbing on the dresser again:-))  I spray painted some old frames I had, and made the art myself in photoshop, from ideas found on Pinterest.


Missing the coral theme, but I found these great damask napkins at TJMaxx, and decided to make them into a Merry Christmas Banner.  I just printed off the letters on cardstock and taped them to the napkins.  Then taped the napkins to a long piece of yarn, and tied some tulle between each one.


Also tied tulle on the light strand in between each light.  I made the flower ball a while back, and the yarn ball is just that, leftover yarn, on top of my candlestick.

 Bunny slippers- cause that's how I roll:-)


And then there's the little nativity scene my daughter found and put out for me.  That dresser will be getting a new color come summer time... can't wait for that!

Tuesday, December 18, 2012

Christmas House Tour: Guest Room

Today's Christmas Room is my modern eclectic guest/craft room.


I spray painted some branches with white paint (but only to make them light gray,) and hung my pink and blue ornaments on, and placed spools of thread on the big thorns. This is my craft room after all:-)


Then I hung Christmas ornaments with ribbon from the window moldings (yes, someday those blinds will be made into Roman shades like my dining room), and topped it with a feather boa I got at House of Bachelorette-- (best prices on boas-- not paid to say this:-)


Luckily, I have this marabou feather wreath up year round anyway, so that looked festive enough all by itself.  And that lovely one of a kind painting- by Yours Truly at my first Paint Jam session while I was in Hong Kong this summer.  The secretary I got for free and it was in a bad 80s kind of way, and I painted it black a few years ago and added new hardware, I still love it. Great for fabric/craft storage.


And since I haven't found the perfect neo-classical mirror for over the bed yet, I decided to make some paper fan flowers, then cut out some ornament shapes for the center from sticky glittery foam paper, and then cut out the snowflake shapes and stuck them to the wall.


In October the ladies in my Relief Society (church women's organization)  asked me if I would be one of the hostesses for our  Christmas Activity, the Kringle Mingle.  I was so excited to have a Home Tour and really decorate my house up for Christmas.  I'll be adding more rooms each day so you can continue on the tour!

You can also see the post on my daughters' Christmas room here.

Thanks for stopping by!

Wednesday, November 21, 2012

Girls Room Sneak Peek

I've been busy redecorating my daughters room.  Here's the new bedding.  More pics to come.

Here's what it looked  like BEFORE:


After Sneak Peek:


I made all the bedding.  The duvet and pillow sham I made from fabric from spoonflower.com  The white coral pillows were made from Fabric.com   The furry pillow was originally a square pillow from Target, which I altered into a lumbar pillow.   The wall color is SW Shoji White. I am so tickled with how it turned out.  

Saturday, August 11, 2012

Laundry Directions for Children and Girls Room

In order to lighten my load (har har), I typed up these laundry directions, so that way my 8 year old can pitch in with the laundry.  She'll be able to look at this and know what settings to set the washer to when I ask her to throw in a load of clothes or take the wet ones from the washer.  I'm going to print this out and stick it on the side of the washer.  I left blanks so if you want to print it, you can fill in the names of your settings for your washer/dryer.  I am smiling already and wondering why I haven't done this sooner:-)


More decorating projects coming up soon as my kids go back to school and just my 2 year old will be home.  My daughters room made the move from our home in Utah to were we are now. When she was 4 and now she's 8, and it's due is getting a makeover next!

Here's the BEFORE's  where we just moved her room to our new house:


and another BEFORE of the room here in our current house.

and for now the "After" is in my head.:-)  I must say my style has definitely changed for the better, can't wait to tear this room apart!  Goodbye Green and Yellow!  Fabric and paint have been selected!

Wednesday, May 2, 2012

H's Laundry Room Board

I got to have some fun putting together a design for my friend Haley's laundry room.   Though I'm usually busy being a full-time SAHM,  putting my Interior Design degree to use is my absolute favorite thing! The starting point was the red washer and dryer she had previously purchased. After assessing her style, I designed a room with a modern country feel.
This is the pattern I suggested for the hand painted wall treatment:


I also included more detailed elevations of each wall that I delivered along with the color board.   I had so much fun working on this project-- Thanks Haley!

Wednesday, April 25, 2012

Check Off the Bathroom Mirror Project!

Lucky for me this week my mom was in town and so I was able to get some projects done!

Mirror Before:

 Step 1: Cut frame yourself:-)


 Step 2: Pick out a color and paint it before your husbee gets home and has an opinion.

You will see the top edges of the moulding in the mirror reflection of the inside of your frame, so you have to paint an inch or two of the backside.


Step 3:  Install it using 3m sticky velcro thingys right to the mirror.


Step 4:  Sit back and enjoy how you took that boring builder mirror to a bright sunshiny day!
I took my towel to the paint store and found a sample to match.  (The color isn't showing up just right on the monitor, but in real life I assure you is the same as the towel.) If I remember correctly, I think the moulding was around $60 for this project, but you could definitely use smaller molding or make your own for less $.
Here's the another view of the room.

Saturday, April 14, 2012

So I made a Quilt

Creative title huh?:-)  This is only the 3rd quilt I've made.  Inspired by my friend Emily, we each made a snowball pattern.  I wish I would have kept track of how many hours this took.  Let's just say it was a crazy amount.  My SIL is due with a baby girl any day now--  so this is for her.

Front:


Back:


Even though the front took more work, I almost like the back better cause I love the fabric.  I can't believe JoAnns was discontinuing it.  Luckily,  I was able to bind it while listening to 8 hours of General Conference over the weekend.  Now I can check that project off the list!

Monday, March 26, 2012

Drab to Fab My DIY Kitchen Makeover

I keep bumping into my kitchen island, which sometimes feels like an obstacle course to get around.  I am reminded of my old kitchen that I loved, which wasn't huge, but well space planned.  It had a great big peninsula, and makes me wish I could remodel my entire kitchen.   (I love islands, but it is annoying to me in my particular floor plan.) I decided to revisit my old house's kitchen makeover and reminisce about making cookies on the 4' wide peninsula.

BEFORE:
   This before photo was taken before we bought the house.  I LOVED the peninsula and am sad at my new house I have to keep my black bar stools in the basement... maybe they can come out someday... Anyhoo, here's the "before" and "after" kitchen pics of our house in Utah.
AFTER:

This kitchen desperately needed help, and we did it on a pretty small budget. The cabinets were OK,  and new ones weren't in the budget, the old laminate counter top had lots of bubbles and cracks in it.   I kept things pretty neutral since I knew we wouldn't be staying too long and wanted to make it buyer friendly.  Enter granite tile, travertine trim for the edges, and tumbled travertine for the back splash, and a  new light fixture for the dining area.  After a lot of hard work, washing dishes in the bathroom, and eating a lot of take out, it was finally done.

We also got new hardware for the cabinets, a new faucet and stainless appliances to match the dishwasher, new light fixtures in the kitchen and dining. Hopefully the next owner is appreciating our hard work:-)


We got a new gas stove and refrigerator at the scratch'n'dent store, (you can't even tell) to match our stainless dishwasher.  The appliances stayed when we moved, especially after we completely squeezed the fridge in there, there's no way it was coming out- I miss you stainless appliances-- and penny the peninsula!!!

Related Posts Plugin for WordPress, Blogger...