We're Designers. We like to Decorate, while we Eat Chocolate.
Showing posts with label Sewing. Show all posts

Saturday, April 14, 2012

So I made a Quilt

Creative title huh?:-)  This is only the 3rd quilt I've made.  Inspired by my friend Emily, we each made a snowball pattern.  I wish I would have kept track of how many hours this took.  Let's just say it was a crazy amount.  My SIL is due with a baby girl any day now--  so this is for her.

Front:


Back:


Even though the front took more work, I almost like the back better cause I love the fabric.  I can't believe JoAnns was discontinuing it.  Luckily,  I was able to bind it while listening to 8 hours of General Conference over the weekend.  Now I can check that project off the list!

Thursday, February 23, 2012

DIY Locker Cushions for my DIY Mudroom Lockers


  I am so excited to finally be done sewing my  locker cushions!  


I purchased  4" foam (with my 40% off coupon), which I cut into the T-Shape so it would fit snuggly in the seat and extend slightly longer than the corners (to assist with the head bumping that goes on when the kids get their shoes).  I borrowed my neighbors electric knife to cut it easily and straight (Thanks Laura:-)).


 The fabric is a Waverly print I got in the home dec section of JoAnns.  I was surprised to find a fun modern print in such a great tangerine color.   I watched a few of these Y-Tube Tutorials, and this one to make my own cording.  She's got a few how-to-sew-a-cushion videos. 


I've seen cute tubs for $15+ at the container store online, but then found these in the perfect color in the $2 section at Target! Score!!  I labeled them and the categories are:  Church, Returns,  Baseball, Soccer, Grocery Bags, and one yet to be determined:)


I sewed up the pillow (Amy Butler fabric) real quick with an envelope enclosure on the back.  I will be adding a few more pillows to the mix, but I will wait until summer to put them out when there will be less coats and winter stuff out.


See how my hubby built the lockers in this post with a link the the free plans.

This is the other wall (see how I painted it by making my own stencil), that I've made some additions to, that will be updated after it gets warm enough to spray paint my next project.
Thanks for stopping by!

Saturday, August 6, 2011

Wing Back Dining Chair, Re-upholstered

Oh where do I even start?....How about I'm soooo glad this is finished! 90 days of late nights, diet cokes ( I wonder if Coke would be a sponsor) Harry Potters and a stabbing to the leg later, I have 2 new dining chairs!


Before. These lovely Wing Back Dining Chairs I bought 2 at DI for $15 dollars each.
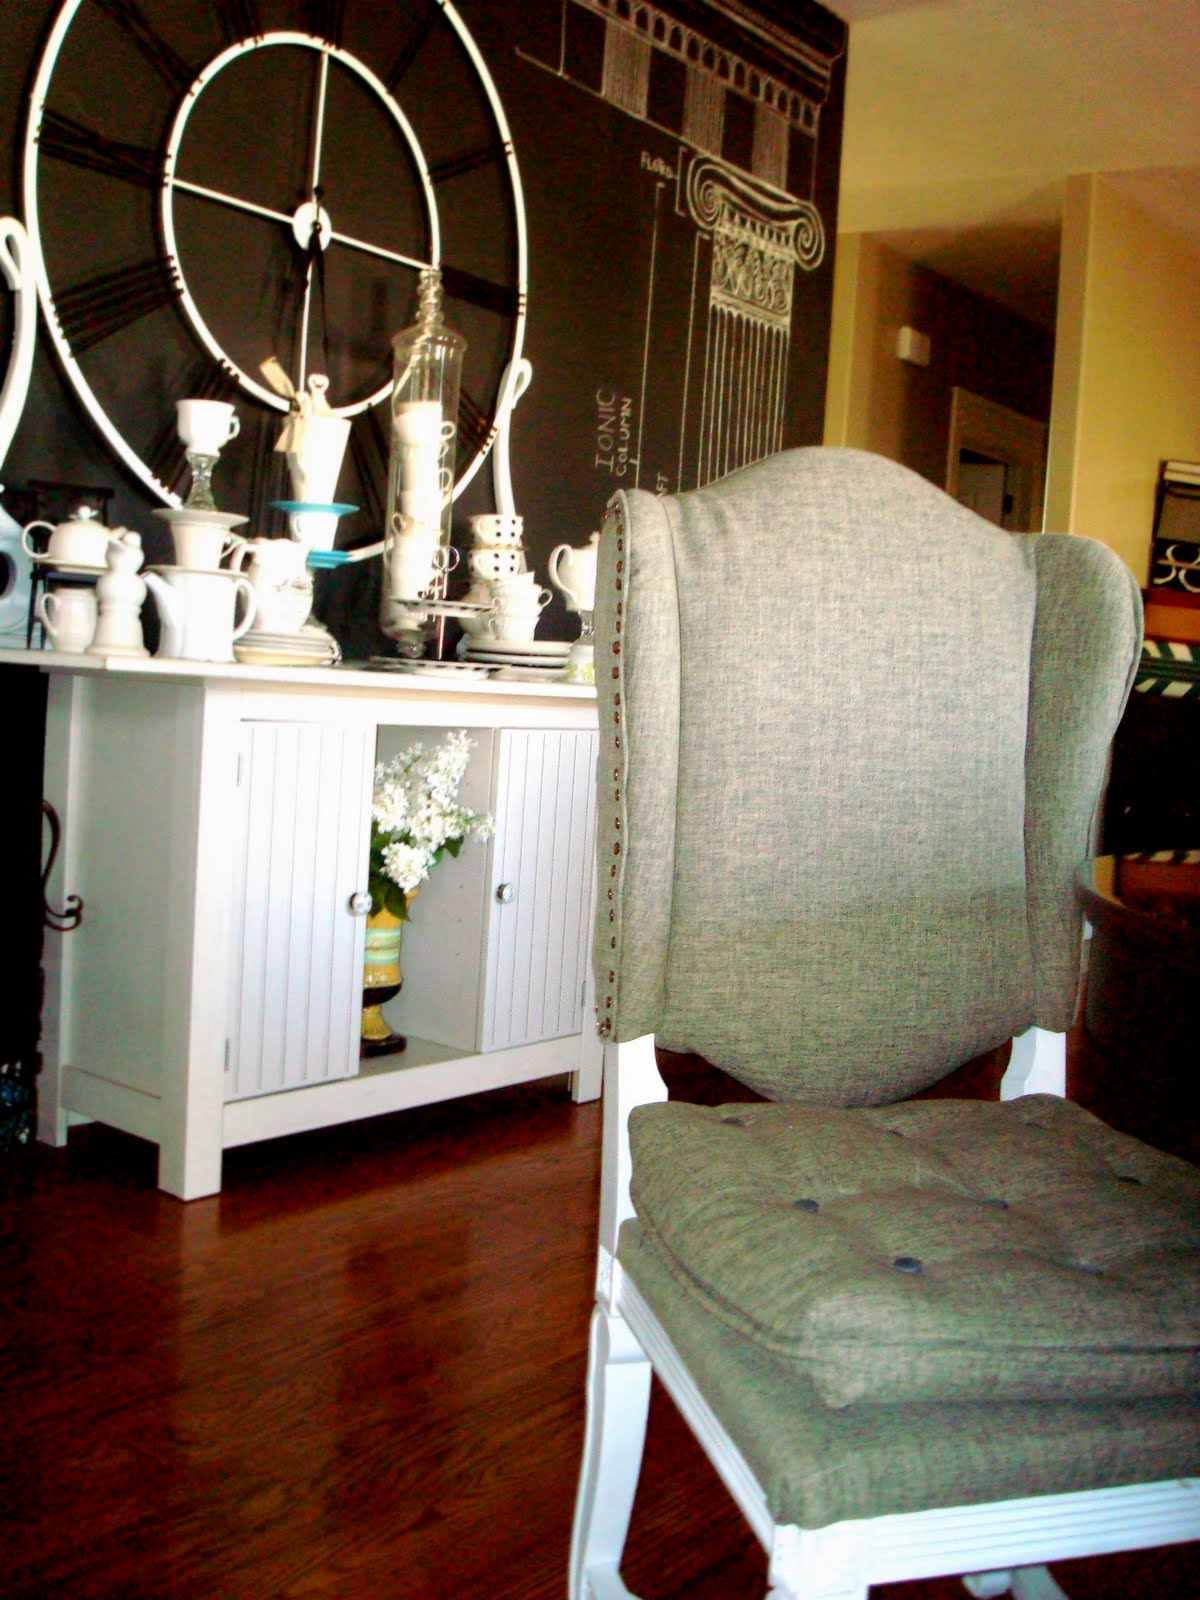
AFTER! I found this beautiful woven upholstry fabric Home Spun fabrics for $3.99 a yard.
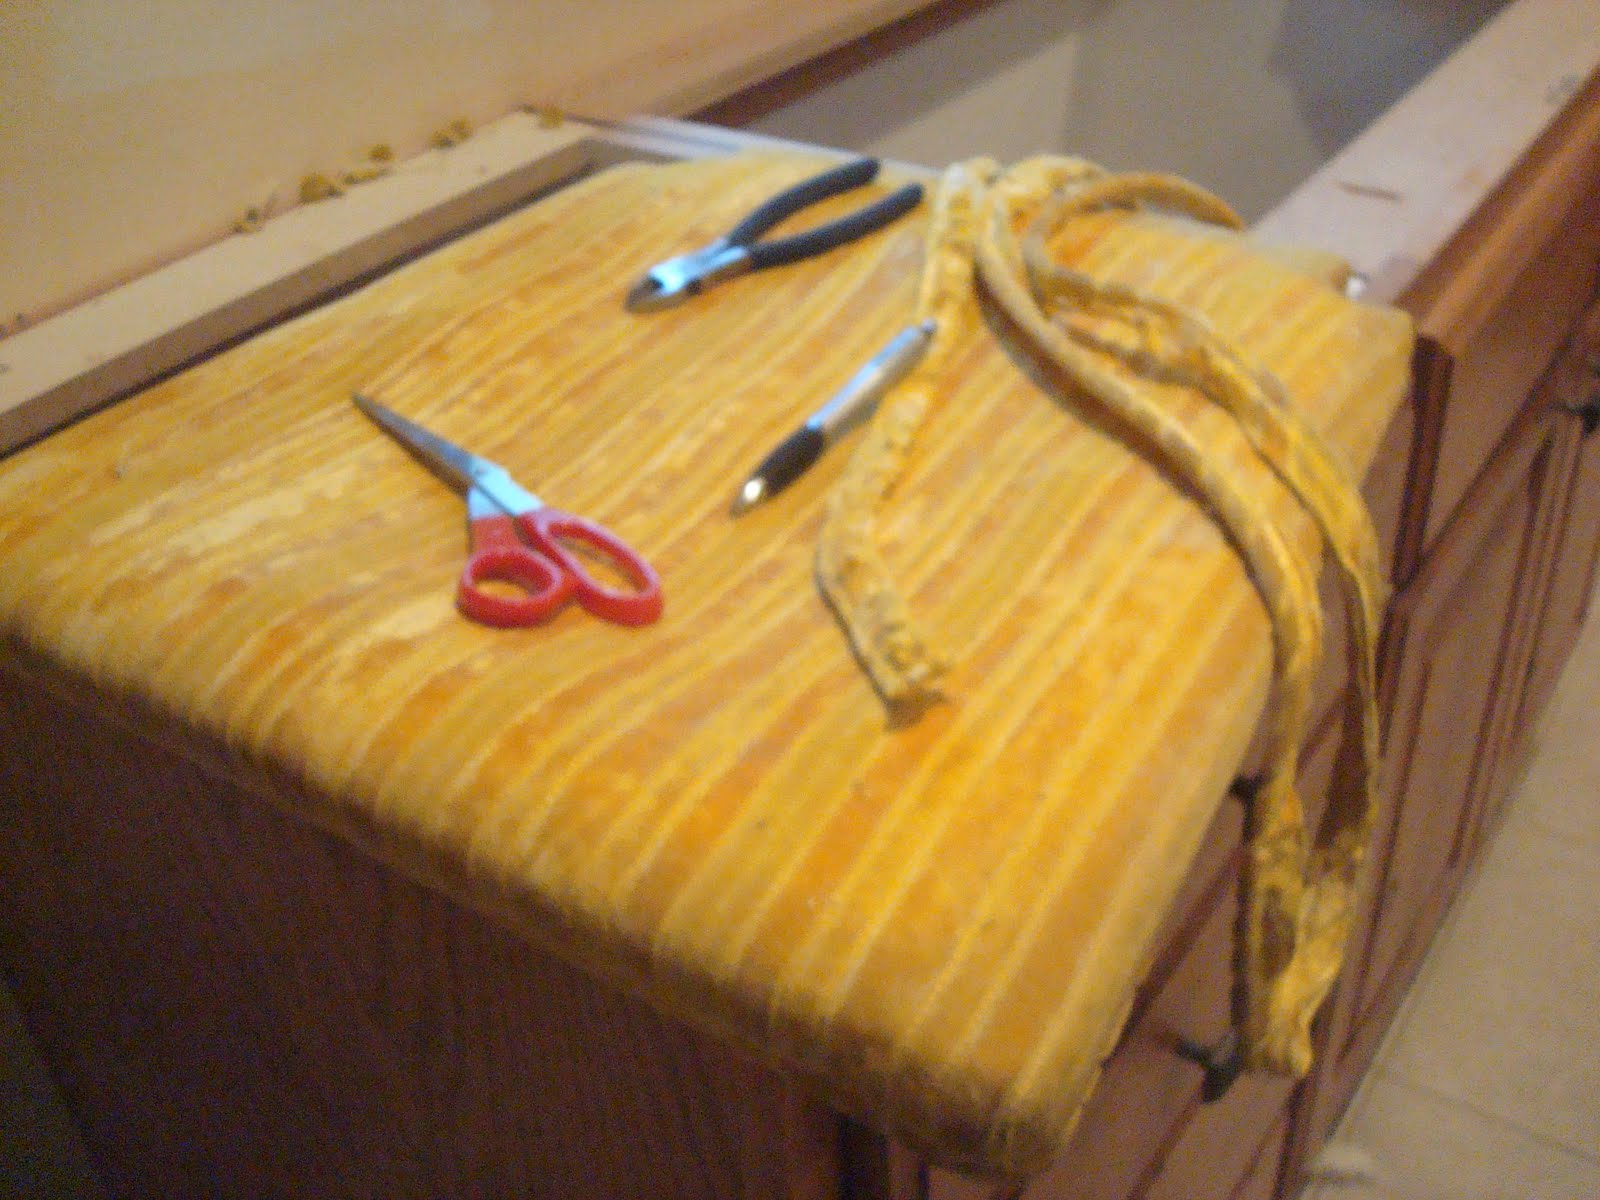
So here is the stripping of the old! Thank goodness for parents right?! My mom was here and is a master of stripping old seats. She could do it fast but still keep the old peices in tack! How? oh I don't know because she only totally re-upholstered a MOTOR HOME by herself. Yeah, she's that good.
Eww, I like yellow as much as the next person, but no.
This is mom working behind the chair, doin' her thang! I dilegently took notes like a good pupil.
Then I spray painted the legs High Gloss White, then did a clear Laquer. I didn't feel like I wanted to glaze these.
So when re-upholstering, try to keep the pieces as templates. Here is the seat. Now, like everything on these bloody chairs, it was complicated. It wasn't just a seat. It was was tufted pillow top on top of a seat. So after I re-upholstered I had to connect the two, but we'll get to that later.
Here is where I traced the darts with chalk. This was my first time doing darts! Have you ever done darts? Not as scary as I thought it was going to be...but connecting the 2 together with piping...now that was a beast!
Sewing the piping. Simple to do piping. You can buy the cords at any fabric store in the drapery/upholstry section. Then using your zipper foot sew a piece of fabric tightly around it.
So here is the finished seat, with the pillow top on top of the hard seat. The hard seat I just covered and stapled to the back, that was easy. The pillow top had 3 parts (like I said, a beast!) First the darts, then sewing the piping to one side and then sewing the sides together. I FAILED the first time because my darts didn't match up. So I had to unpick and shorten my darts and try again! But when I did the second chair I had the experience to take notice of my darts.

Next, using chalk, I marked where I wanted to put my tuffs. Oh gee's, even the thought of what comes next makes me shudder....
So here is my 12" upholstry needle with a 4blade tip sounds deadly right? Doing the tufts were different then normal, because like I said before, there was the pillow top that had to be connect to the seat and that was done by the tufts. So I had to go through 2 big masses. Oh the horror! Well on my first attempt I proceeded to go through both but then kept going until it stabbed my thigh. Yeah, it hurt. Like a mother.
Well, many nights and 7 Harry Potters later, I finished my tufts!
Of course I still had to put my buttons on. I did my own buttons by buying a button cover kit at Joanns. Really simple and kind of fun.


Ok, on to the wing back chair! I know, I always have to pick the most complicated learning project. I couldn't just find a normal backed chair? Oh well, I feel some what like a master now ;)


So I cut a piece of fabric and pulled it over the front and through the back and stapled. Not to hard....


But I still had to staple on the piping.

Stapled piping.


The front/middle I did the same way, pulled around taute and stapled.

Now, I had to put the backs of wings and the back on. This actually had to look good, no more staplin' staples willy nilly! I folded it under to hide the raw edge and stapled every few inches evenly.
This is the back, I added some batting to soften the frame.

So here is the finish back and sides with the staples showing and I proceeded to cover those with nickel nail heads. Oh nail heads how I hate thee. I tried 2 different ways because the frame was to hard to actually nail the nails into it., they would just bend.
Finally I just embraced the bending and I put the tacks in at an angle and then hammered them and purposely bent them. They're for decoration really, because the staples hold the fabric taute and the nails cover the staples.


Some I even cliped off the tack part and just "bedazzeled" them on with glue! ha! I win!

All I can say is thank goodness they're done! I think my husband is glad too.


Friday, July 22, 2011

Bust out the Bikini Bottoms!


I showed the hubby my latest project, and he says "It looks like you hung bikini bottoms on the chalkboard, why don't you take it down and then the room will look good."  HA!!!
(Especially since I don't even own a bikini!)

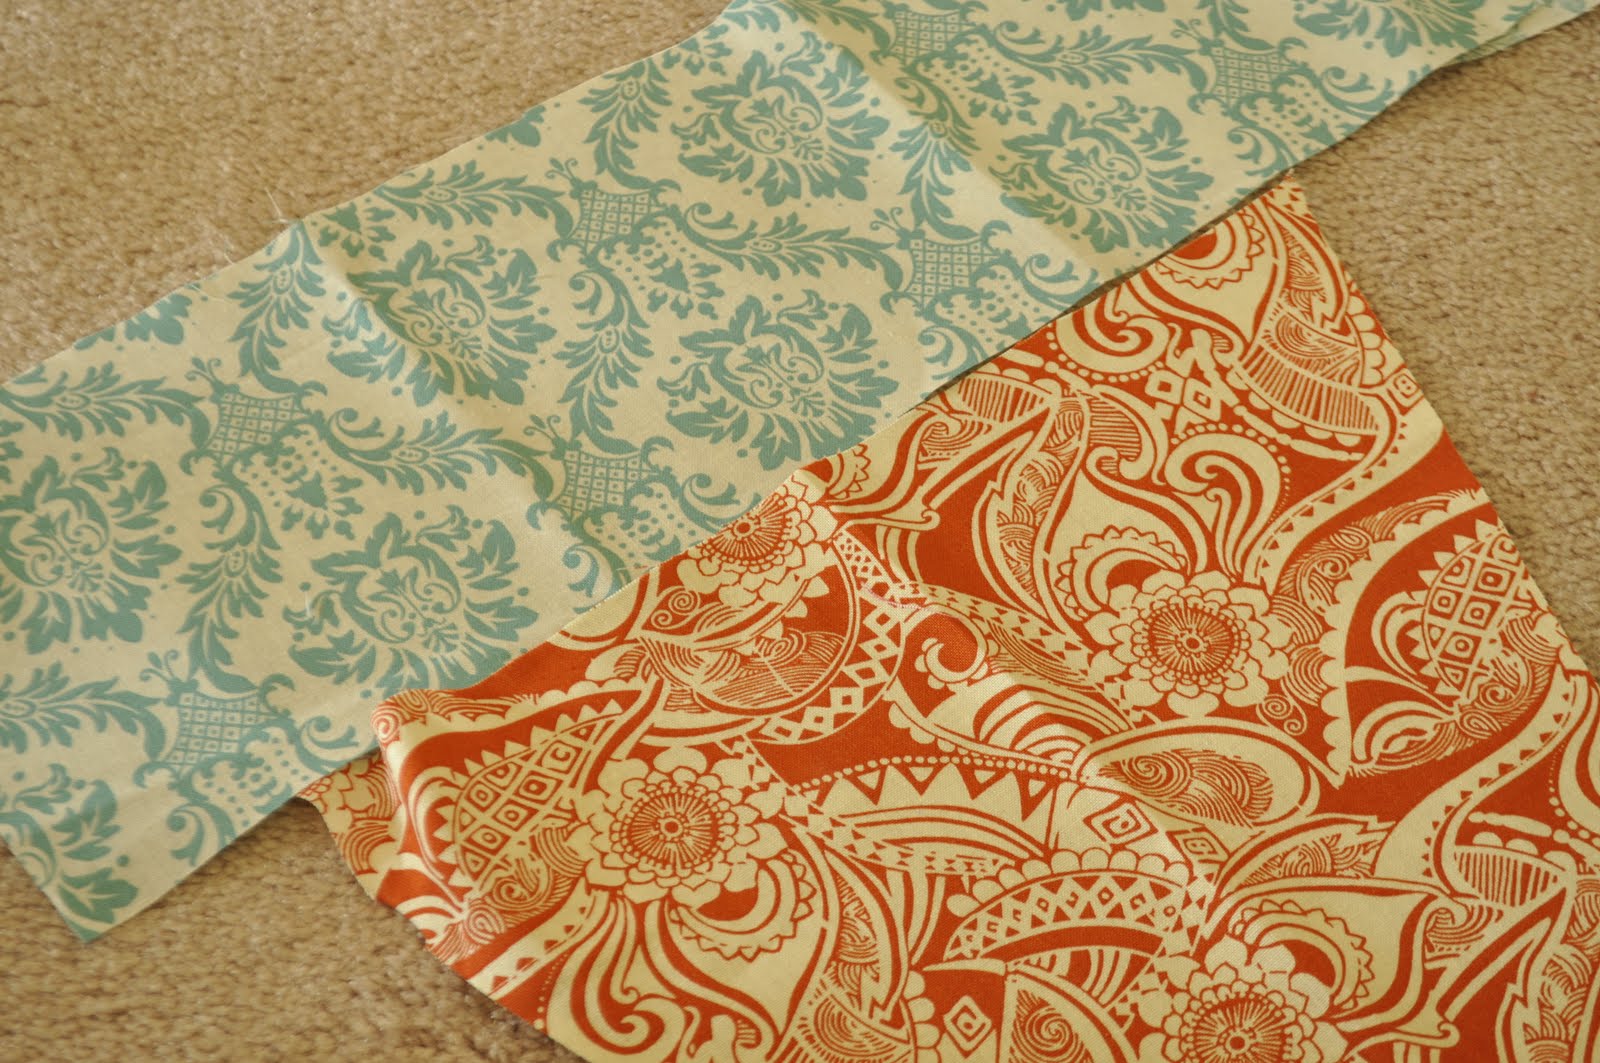
I grabbed some fabrics from JoAnn's.

Followed this tutorial,  and cut out my triangles, they were 8"high and 6" across.

The two triangles on the right were sewn on the edges with a zig zag stitch, they are double sided.
 After sewing all of them,  I sewed them to a grosgrain ribbon I had and hung them up.

I ended up needing 11 triangles for about 60 inches of chalkboard.

I could iron them, but I kinda like them curvy.
This only took about 2 hours, super easy and cute, I might use it outside sometime for kids parties too.

Monday, June 20, 2011

Quick and Easy Ruffle Shirt


I started with this pink shirt (Gap Outlet, $3- years ago) that was too big and I've never worn it.   
(mess = trying to decide what other shirts to re-purpose)

I put a favorite shirt that fits (Target a few weeks ago) on top to use as a pattern and cut the sides leaving a bit for a seam allowance.
Then I cut the bottom edge off this cream shirt, to make a 2 1/2 inch wide strip.  I gathered it into a ruffle and pinned and sewed it onto the pink shirt.
I also cut the collar off the white shirt to use as a new neckline to cover the fraying top edge of the ruffle piece. 

 Voila! 
Quick and easy ruffle shirt  (maybe I should clean my kids' slime off the mirror first? ha!)
Since the pink shirt was too big, afterward I also adjusted one of the arm straps so the neck would lay flatter.  I'm likin' it.

Friday, May 20, 2011

His and Hers Office

This is our actual working office/sewingroom/craftroom/library/studyhall so it may not be perfect, but it's at least organized (don't open the closet door) and I love organization that can last more than a day! Oh and I'm sharing it with a man so it's really the best I can do. ;)

So speaking of sharing, for our "His and Her's" Office Space I wanted to represent us both. So after some thought I knew that I loved Neoclassical design, he also loves U.S. history (same time period) and we both like modern clean furnitures so I went something a little like this....


But first.
-The desk is a life savor! I love that each of us has a place to work.


-The chairs are also from IKEA and I added the "his" and "hers" to the back.


Above on the wall is a glass board (IKEA) that I use as a whipe board and calender. It's great!
-


There are also boards above each of our work space were we can tack things.
I've put up there places we've been and places we want to go, and projects I'm working on.


And no work space would be complete without baskets with cute chalk board labels.
We already had these 2 shelves so we put one on each side of the table to create our own "unit"

I just fell in love with this bunting when I saw it on Whipperberry.com and knew I wanted to make it (see below). I think it incorperates a hint of Neoclassical inspiration without going overboard


(dining room, Mt. Vernon)

Some of my inspiration the color of room and the bunting came from Mt. Vernon, MD. George Washington's home. We went there last fall and I fell in love with it because each room is painted an amazing shade of blue or green.
I have a feeling Martha W. and I would have been great friends.
So again, the use Neoclassical style and US History, combining 2 things we love!


I also love the raw fabics since I love to sew.
How-to: Take one Lloonngg piece of fabric the length of the what you want and then tie other scraps of fabric to it. I stuck with cream, whites, blues and greens.


Neoclassical wouldn't be complete without a couple of Busts!
The man and woman I found at the thrift store work great in my His and Her office.
Neoclassical also has a profound use of Symmetry
(notice the picture of the dining room above also). I also have a profound LOVE of Symmetry. I was inspired by that for our little reading/studying nook below.
And the desk area above is also rockin' the symmetry.


We love to sit here and read or study. To see how I did this wall, go HERE.
(I promise those lights are at the same height but for some reason it doesn't look that way in the picture)


This is also a little Ode to Neo C. a table with a little fluted column.


Notice when I talk about this room I say "inspired", not reproduced. I wouldn't say the room is Neoclassical, but was more or less influenced

My suggestion for doing a His/Hers space is to make a list for each of you with everything that you love- to do, colors, style, jobs, hobbies or whatever until you see common thread. Shouldn't be to hards since you're married right? You should have something in common! Once you find that thing run with it! But try to do it in a more subtle or fun way.

Oh and more Neoclassical, just because I can.
Related Posts Plugin for WordPress, Blogger...