We're Designers. We like to Decorate, while we Eat Chocolate.
Showing posts with label Light fixtures. Show all posts

Thursday, May 26, 2011

Petal Lamp Shade Tutorial

I realized I never shared my tutorial on how I made this Petal lampshade.


So here it goes!

I started with this lamp that has an accordion lampshade.


And would you know the accordion part pulls right off!

It was looking yellow underneath, but covered up fine with some white fabric.

I cut strips of white fabric about 2-3" inches wide. The longer you cut your strips the better.

Then I folded it up like paper dolls, and cut a petal shape.
It will look like this when you un-fold it.


I used hot glue and began glueing them on, I would pinch in the middle of the petals to give it some dimension.

Keep going...and going....


And going more the next day when it's daylight:-)


And finally, you're finished! It actually looks great on the original base too, but sometimes I like it on my thrifty spray painted lamp base.


This was so easy and a fun way to makeover an old lamp. I'd love to hear about any lamp redos you've taken on! Thanks for stopping by!!


Tuesday, March 15, 2011

Thrifty, DIY Lighting


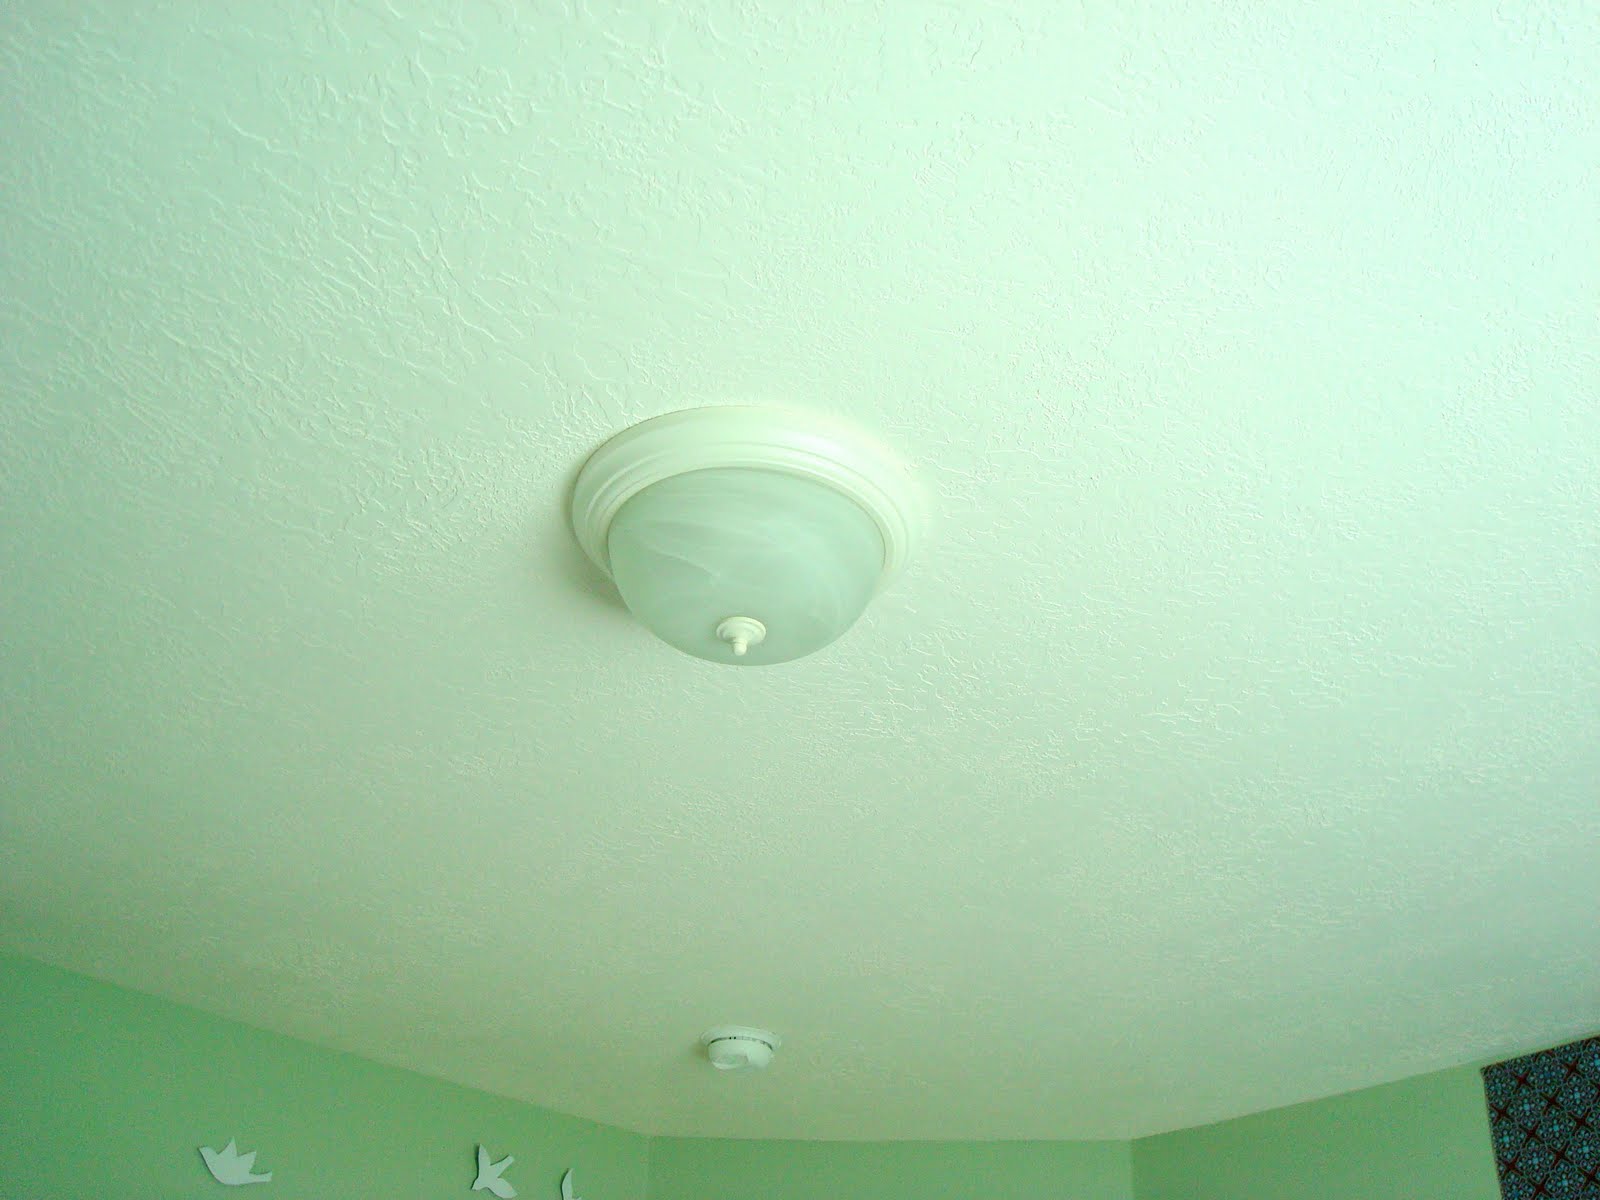
I'm kind of to the point with this post that I'm going to shot the computer since I wrote it up and then it got deleted so here it is in a very condensed version. I wanted to replace this "pretty" light with ever a more pretty one.

I found this beauty for $4 at D.I. Buying lights at thrift stores is a risk, but for $4 I figured even if it didn't work the money would go to a good cause.


So I spray painted it white. So much better. ...except I'm thinking I want to paint it yellow now.
Here is where I pulled out the big guns and I, yes I, did all the electrical work myself. It seemed scary at the time but now I know that it's easy and anyone can do it! First thing though, make sure you turn off the power to the lights! Next, when taking down the old light, try to remember where each wire goes. There's usually 2 wires to the light and then one for hanging up the light.

The chain needed some help so I decided to make a "slip cover" for it.

This is me up on the ladder, hooking up the wires! Whoa, carefull now.
So how did it turn out.....

SUCCESS!!

Later that week, I was at DI again and they had these chandelier shades for only .75 cents and they were in great condition.

Ta-Da!....but don't you think that it should be yellow and maybe I should take the fabric off the shades?

And this beauty became mine after I saved if from the side of the road. The cute old man throwing out said it belonged with me and had been there waiting for me.


Oh, and this thrifty light is also from an older post. check it out HERE.

Wednesday, February 16, 2011

Lamp Shade Re-do

Sorry about no post on Monday, I took the holiday off to go to Vegas!

I wanted to keep using the great shades that came with these lamps. So I decided to recover them. The best way to do this super fast and super easy is what I call the "wedding dress" shade.
I started out with these drum lamp shades that came with the lamps. They were red to begin with but didn't match my room. So I recovered them in black (this was about 3 years ago) and now I wanted them white.

So I had some white muslin about 28" wide. I folded it over the top about an inch and hot glued to the inside. Then I gathered, gathered, gathered until I came to the end and folded that underneath the bottom and hot glued to the inside.
Then, where all the gathering and bunching was happening I pinned so that it would stay.
(see yellow circles above)
Then I came back with some needle and thread and replaced the pins by stitching just a little bit to the fabric underneath. Do whatever you think is necessary but it really didn't take me many stitches. The fabric is staying really well.
(see yellow circle above)
Ta-Da! So easy and so pretty!
(go HERE and HERE to see how I made the pillows on my bed)


The DIY Show Off

Thursday, January 13, 2011

Industrial Chic Skelton Lamps

Do you like skeleton shades? I do! I've always had a thing for Industrial Chic.!
OK, so maybe I created the term, definition- Industrial Chic : Raw,junky design; not as frilly as Shabby Chic.


I've been wanting to add some light to this corner. I also wanted it to hang. I thought about lighting a birdcage but when I was at the thrift store and saw these lamps shades "Light bulb!"


Bought one large, one small

Cut through and rip off the old fabric from around the shade.

Then stick the small inside the large.

Next, install the lamp cord. You can buy them at Pier 1 for about $10. I had this one already from an old lamp that hasn't been hung up in a long, long long long time, but I alway kept it knowing I would do something with it! Glad I did! I love being able to shop in my basement!

The cord needed some help, so I debated between chain or fabric.

Went with the fabric! Much easier and a softer look. So I cut a piece about 5"x6'

Now, I was dumb and picked a fabric that was stiff and didn't bunch by itself like a linen or maybe even like a light cotton would. So I had to sew my own "bunching"

To make: I folded the 5" piece in half, right sides together. Then did pleats about every 4". Sewed the side closed, and flip right side out....which was probably the hardest part! I ripped 2 pleats in the process and had to sew those closed by hand. Blerg.


In the end, it worked out great and bunched beautifully on it's own!


Some junk turned into something fun!


Link Parties

Photobucket


The Blackberry Vine

Tuesday, September 21, 2010

Meet the Girls

Here's the ladies I found for a mere $3.50 each at the Goodwill last week.

Before:


Enter my friends Krylon Primer and Krylon Blue Ocean Breeze.  


Enter this old accordion lampshade, transformed with fabric I cut into curved strips and hot glued on to create a feminine petal type shade.

Lamp Shade Before :


Shade meets Base:


2 lamp bases -$7, 1 can spray paint $3 (already had the primer), 1 old lampshade-free.
I was checking out light fixtures at Target, and would have spent around $50 bones for the same size lamp.  I'll stop sitting in the dark for ten dollars:-)  We could all use more light in our rooms.   Have you used spray paint on anything lately?

Related Posts Plugin for WordPress, Blogger...