We're Designers. We like to Decorate, while we Eat Chocolate.

Monday, September 21, 2015

Backyard Beautification

We've lived in this house since 2008, and I remember dreaming of having a table to eat outside at.  What a difference 7 years makes.


 Would you believe I got those 2 (one pictured) gorgeous black urns from my neighbor who was throwing them out??  Made of concrete/plaster, they were crumbling a little but I sprayed some sealer on and they are doing the job!  Can't wait for the boxwood to grow into a beautiful big ball!


Here's when it was all decked out for a baby shower I threw,  with lights on all the evergreens.


Whenever I see someone else's beautiful home, I remember it wasn't built in a day.  I started with one pot of flowers many years ago!

Happy Decorating!
Lauren

Thursday, September 3, 2015

Fall Front Porch

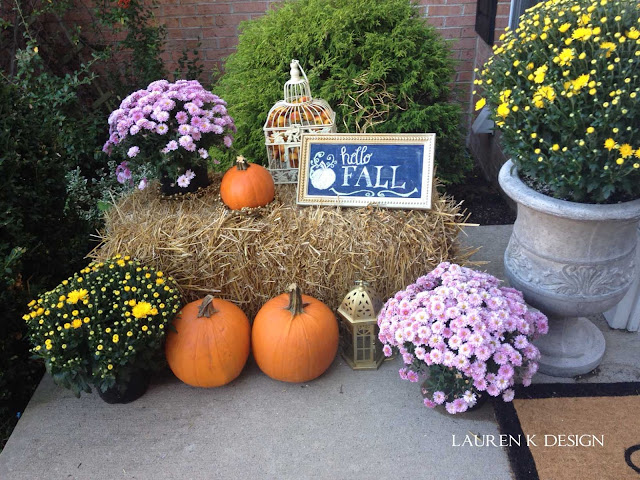
 My purple petunias have finally died off from the heat, so I'm getting ready to spruce the porch up for fall.  Thought I'd share my last year porch decor and get excited about new things for this season.  Nothing says "Welcome" like a pretty porch! (and some trick or treaters:-))


Tuesday, September 1, 2015

Family Room Before and After 2008-2015

I was digging through the archives from 2008 to find a true before picture of my family room.  We had just moved in, and plopped down our old stand alone TV, Ikea shelves for kids toys and threw up a Christmas tree.  I wasn't a fan of the previous owners green paint colors, but lived with them for much too long.


It took me FOR-EV-ER (insert Sandlot kid here:-)) to decide what to do with this space.... and it wasn't until after I redid my front room in Navy and bright pink (and my husband was ok with it--phew)  that I felt confident I could pull off some pink in the family room as well:-)


Sometimes when its hard to pick a color scheme, the fall back is really quite obvious---- choose your favorite colors!!! You already know you love them.  The key to not making this room look dark or dreary or cray cray, is by using the colors in small doses and having correct scale patterns.   I can't believe it took me so long to fix up this room, since it's the one we're in 99% percent of the time.

I have to include this next pic so you can see my Ikea curtains that I stenciled in coral. I looked everywhere for fabric but couldn't find the look I was going for so I made my own:-)  And it's not a great picture but the kitchen light fixture also got replaced (overstock), and it looks 10x better in person!


More things to still tweak/update:

New side tables by sofa and chair.
Throw away love seat and get new chaise or spindle chair.
Get Rug & new carpet.
Address right side of fireplace.
Floor lamp by chair.
Address TV wall (yes I'm a fru-gal, no cable just bunny ears;)

Kitchen still needs major updating but I'm not dwelling on it.

I'm working on my master bathroom decorating as soon as I finish the new roman shade I re-did in my kitchen.  So glad kids are back to school so I have un-interrupted time to work on my projects!

Happy decorating!
Lauren

Tuesday, March 3, 2015

DIY Board and Batten Entryway Foyer Part 2: Final Reveal!

I took these pics around christmas time (obviously!) and am finally getting around to posting:-) and because everyone loves a good before and after-- here they are!  You can find Part 1 of my DIY board and batten tutorial here.

Before:


After:  Ta-da!


Complete with a new bigger rug I got from Rugs USA during their black Friday sale.  It said light blue in the description online, but it's definitely more of a seafoam in person.  Good thing it looks great that color anyway!

Hallway Before:


Hallway After:

My rug keeps sliding around, need some gaffer tape for that.  I also need to add the small baseboard to the middle section, waiting for my garage to warm up- hopefully in the spring.


Stairs Before:

Stairs After:


Man,  these stairs were the trickiest!! So many angles. Not just the board and battens, but then the tiny trim pieces inside the box were at such weird angles!  I saw a great tutorial on youtube, where the guy cut tape, put them in his angle, then folded it in half where the pieces would meet, then lined his tape up out on his saw blade, and cut the perfect angle every time.  

I love how it turned out, I feel like it's really taking this house up a notch. Now if I could just get new carpet and paint/stain the banister, and paint the super tall walls-- but I'm too tired!!

Happy decorating! xoxo, Lauren


Thursday, February 12, 2015

Part 1: DIY Wainscoting, Board and Batten in Entryway Foyer

I've had this project in my head for ages.  I knew it would take a long time and so when my hubby had a long trip for work I knew it was just the time to get started.  I wanted to have it all up and done before he got home.  Well,  I may have underestimated the time it was going to take to complete this project- ha!  

(Most of these pics were taken with my iphone. No time to get out the big camera in the midst of this project.)

Step 1:  Order the mdf online at the Home Depot, I love being able to pick it up at the front rather than going to and hauling each piece onto the cart myself.  I used 1x6's for the baseboards and 1x3's for the stiles.  I also got some 1x1 trim pieces for the inside of the boxes.  

Step 2:  Paint all the  primed mdf in the garage.


Step 3: Clean all the junk off your work bench so you can work.

Step 4: Get all 3 kids off to school finally and gather all essential tools:-)


Step 5: Take before shots!

Entryway Before:


Step 6: Use your chisel, putty knife and hammer to carefully take off the existing baseboard, I put this back on at the end to layer on top of the new 1x6 taller baseboards.  Love this look!

Step 6 1/2:  Measure and cut your chair rail and base.  

While I usually describe myself as a delicate flower and am NOT a feminist, I love being able to build things myself.  There's always a learning curve on each project, and after a few past projects  I feel pretty confident with a miter saw.  During this project I finally figured out my air compressor and nail gun.  Don't have to ask the hubby for help anymore:-)

Someone took all the ear and eye protection with him on a trip, (including my Women on Target ears I just got!),  so I was forced to improvise for safety gear.  Enter my  blingy sunglasses, and I found some of my hub's racing headbands to help dull the noisy saw.  Don't forget to pull your hair back too, you don't want that getting stuck in your tools or in the way!


Step 7:   Using your Level, make a line and tack the new chair rail in place, mitering the corners.   Also the baseboard.  Then measure and add the stiles with your nailer.  Don't forget to use your glue too!

Step 8: DESIGN TIP!  Make sure there are always stiles at both ends of the wall!  You don't want a 3 sided box up against your door frame, there needs to be 4 sides of molding and then your door frame, or it will look unfinished.  Same with the corners, make sure there is a stile at the corners.  Don't let the wall corner hang out by itself.


Step 9: Repeat process for each wall.

I'm loving our new hand scraped hardwood floors we got last year... 
I really should have covered them up with some brown paper stuff to avoid getting sawdust in the cracks.  It was a real pain to get out.  I put my air compressor on a piece of cardboard so I didn't scratch the floors.


Step 10: Once boxes are up, go around with your smaller trim and add to the boxes.  This helps hide any gaps between the mdf and the wall not being plumb.    Putty and sand nail holes and joints.  


This takes forever!!


Step 11: If you're running into other existing trim, like up the stairs, use a coping saw to cut the trim away where you need to.  Like on this small piece below.


I'll be back with PART 2 for the final reveal!

Monday, February 9, 2015

White and Gold Backyard Baby Shower


I forgot to share the baby shower I did over a year ago.  It was a surprise sprinkle for my best gal pal.  I made gold crowns for us all to wear and put on as you arrived.


I love my patio with the evergreens, such pretty and private backdrop.


 A group gift of Diapers and wipes all wrapped up.

I made the signs in photoshop and printed at costco to put in gold frames I found at Big Lots for $3!


I made the napkin ring out of red glitter paper strips and staples it on the back.


Amanda, Me, Lana, Marie and Sarah, (Yana joined us later)

Fresh mums from my front yard made their way to the table, silver candlesticks, and the lights I hung on my evergreens kept the party going after dark!


Saturday, January 24, 2015

Big Boy Green and Blue Room e-design

Just wanted to share  my design for my friend Laura's son's room.  He's turning 3 and he is transitioning into a big boy bed!  Can't wait to get started and see the result.


Living Room Make Over in Pink and Blue

I finally  redecorated my living room last year.  Out with the red, in with the pink and blue.  Too bad I don't  have a shot of my old red curtains,  so glad I finally changed them. I've lived  with them for so long, I brought them from my last house!  I only have Christmas photos, so please bear with me:)  

Here's the before:


And the After!


 I'm still looking for a rug, a tea trolley, new carpet, new lamp on the left.  I'd love to get new sofas,  as these were hand me down from my husband's secretary a long time ago.  Maybe someday I'll get new ones but not anytime soon... At least they are neutral and the most comfortable sofas in the house.  

I made the white and pink pillows out of napkins I got on vacation, the pink upholstered tables are from Target, as well as the pink polkadot and chrysanthemum pillow. Blue pillow was a cover I bought at hobby lobby.  I bought the curtain fabric at fabric.com and simply hemmed the edges and up they went.  The blue pillow on the love seat was a shirt I got at Old Navy, didn't fit so hot so I made it into a pillow.

There you have it, my living room in constant progress!

Homemade Chalkboard - Throw back to Christmas

I've had this art for ages, literally a decade, and while I like the bright colors in it I've been tired of it for awhile.  It's huge, so I thought it would make the perfect chalkboard.


Enter a few coats of chalkboard paint, and it made the perfect centerpiece for my Christmas mantel.  I liked this chalkboard art I had seen  before, and it was easy to recreate with chalk and a wet paper towel to erase.

How to Make a Fresh Boxwood Wreath

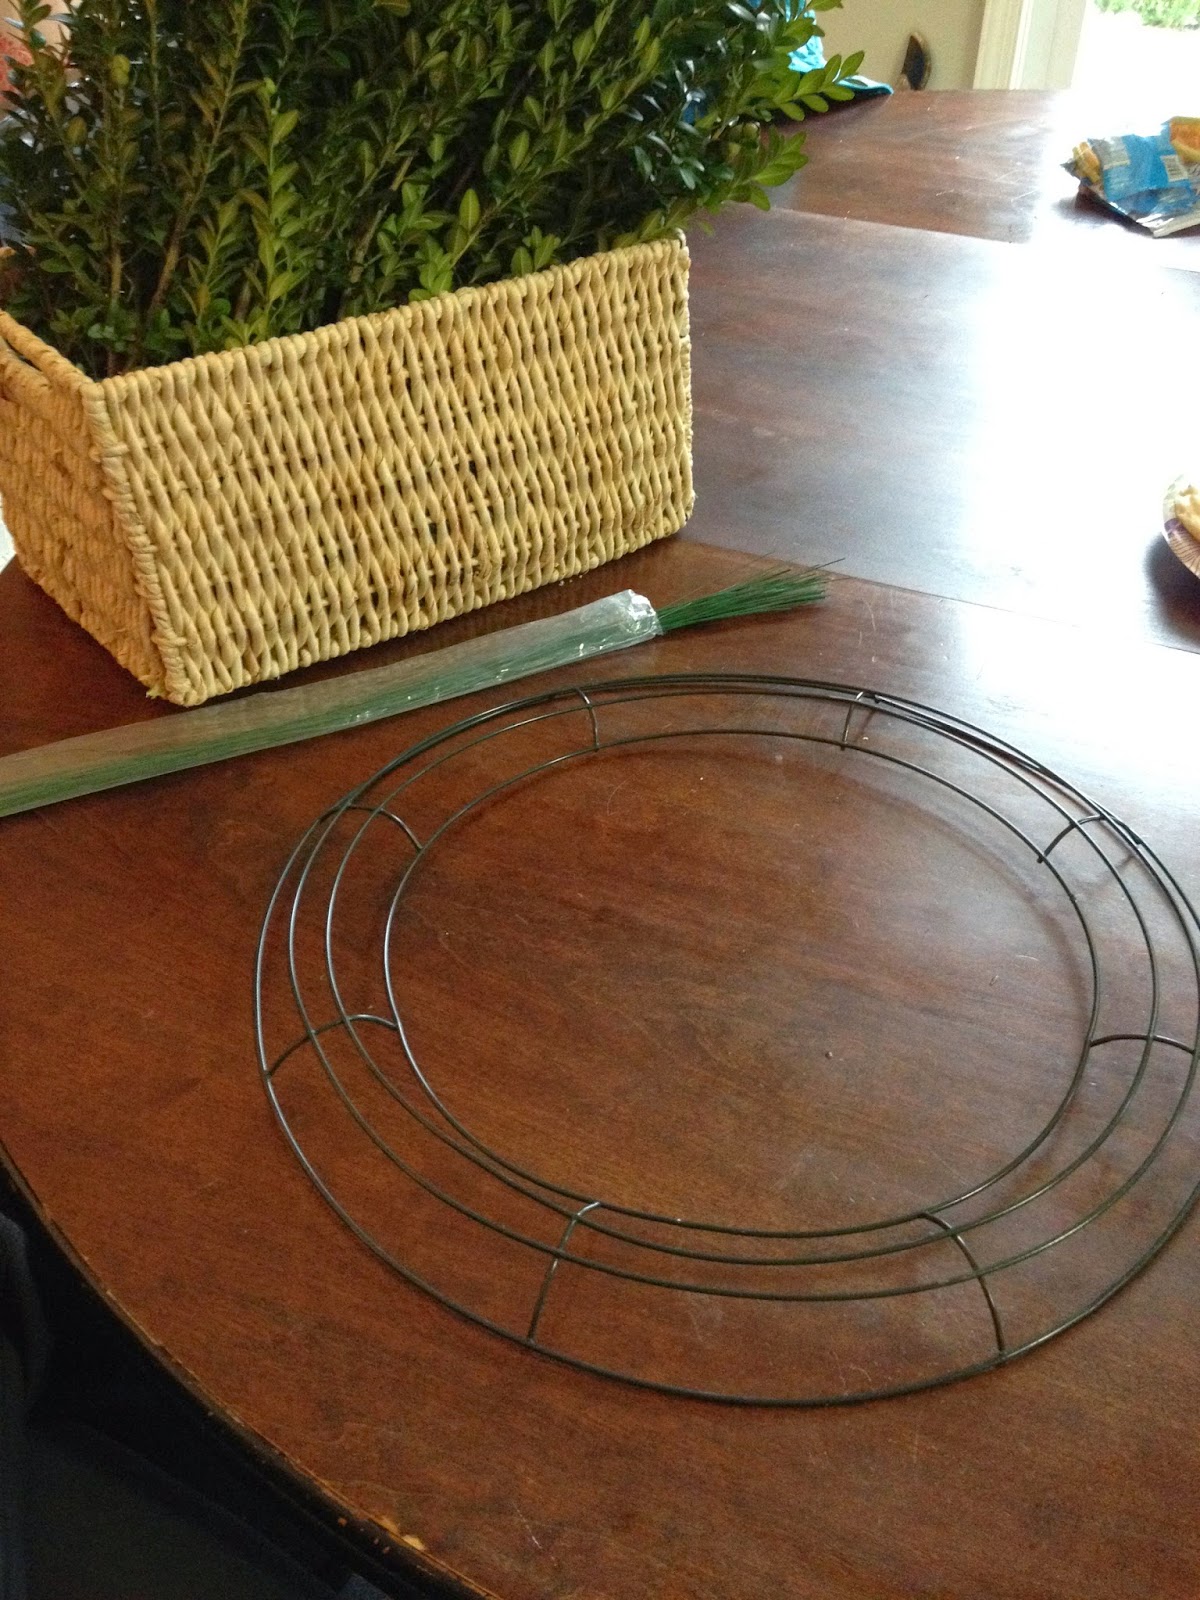
So easy to make a boxwood wreath!  I hung mine on my kitchen window over my sink, so I can enjoy it while I'm doing such a mundane task.  I didn't preserve my branches (that step takes a few weeks of soaking them in a solution so they won't lose their color) but mine has been up for over a month and still looks beautiful and green!

This project took about an hour, from cutting my branches outside in my yard, to tying them around my wire wreath form.  Couldn't be easier. Then I hung it on my inside window with a clear command hook.


I was actually super sick when I made this,  I had that nasty flu, but was desperate to get ready for a Christmas Party coming up at my house.  So I decided to push it for an hour, and then couldn't fool myself any longer and spent the rest of the weekend on the sofa!  Thank goodness for Tamiflu--- finally!
The finished product.
Related Posts Plugin for WordPress, Blogger...