We're Designers. We like to Decorate, while we Eat Chocolate.
Showing posts with label DIY Frames. Show all posts

Wednesday, April 25, 2012

Check Off the Bathroom Mirror Project!

Lucky for me this week my mom was in town and so I was able to get some projects done!

Mirror Before:

 Step 1: Cut frame yourself:-)


 Step 2: Pick out a color and paint it before your husbee gets home and has an opinion.

You will see the top edges of the moulding in the mirror reflection of the inside of your frame, so you have to paint an inch or two of the backside.


Step 3:  Install it using 3m sticky velcro thingys right to the mirror.


Step 4:  Sit back and enjoy how you took that boring builder mirror to a bright sunshiny day!
I took my towel to the paint store and found a sample to match.  (The color isn't showing up just right on the monitor, but in real life I assure you is the same as the towel.) If I remember correctly, I think the moulding was around $60 for this project, but you could definitely use smaller molding or make your own for less $.
Here's the another view of the room.

Friday, April 22, 2011

Re-Purpose Frames

Ghetto Frame:
In the long process of deep-cleaning out the house, I came upon this old accordion frame buried in a box in the basement.  No longer my style it almost made its way into the garage sale box.

 I unscrewed the hinges,  added wall hangers to the back, updated the photos inside, and used a bunch of my other mis-matching brown frames to create this collage.
(I turned 2 of the 3  5x7 frames horizontally)

 I simply laid them on the floor below the wall until I found an arrangement that I liked,  then hung one and eye-balled the next one as I hammered in the nails.  (I still want to update some of the art in these, but that's another project.)  So you may want to think twice before you throw away your outdated frames.

Wednesday, March 2, 2011

Happy National Craft Month!

I meant to post this yesterday but honestly I started reading a book and couldn't put it down. So here is my crafty post today, and maybe, hopefully a lot more crafty posts this month to come! I'll just have to become illiterate.

DIY Door Knob Picture Hangers

I was wanting to add some more family pictures to my door that hangs on the wall, down the hall. Go HERE to see older Door on the Wall post.
I bought these at Home Depot in their molding department, by the fireplace mantel kits. I spray painted them white. I can't remember what they're called. Anyone?
I got a 5" sq and a 3"sq.
Then I glazed them black.
Next I added this picture claw to the back. These are found in any picture hanging kit. I mentioned before you can get them at Dollar Tree or Walmart.
Next I screwed in the knob. These knobs I got at Hobby Lobby. The trick is to take a screw driver and drill a hole in the middle of the square but try not to go all the way through. Then just screw in the knob. It obviously did not screw all the way in but I didn't want it to.....
Then I hung it on the wall! So easy (but use good screws into anchors on your wall because between the wood, the knob and picture it's quite heavy).
So where the exposed screw is is the fabric the hangs the picture sits.
I took picture frames I already had and I hot glued some drop cloth on the backs and then just tied at the top.


Ta-Da! This frame is also hung on the same way but farther down and on a different wall. So there would be some sort of unity to the madness!
Stacey
p.s. the window at the bottom is no longer there. Last min. changes you know how it is!

Thursday, February 10, 2011

Picture Stands, Style II

Alright, lets get down to it.
Picture Stand

For these I used the bigger tables legs.

,
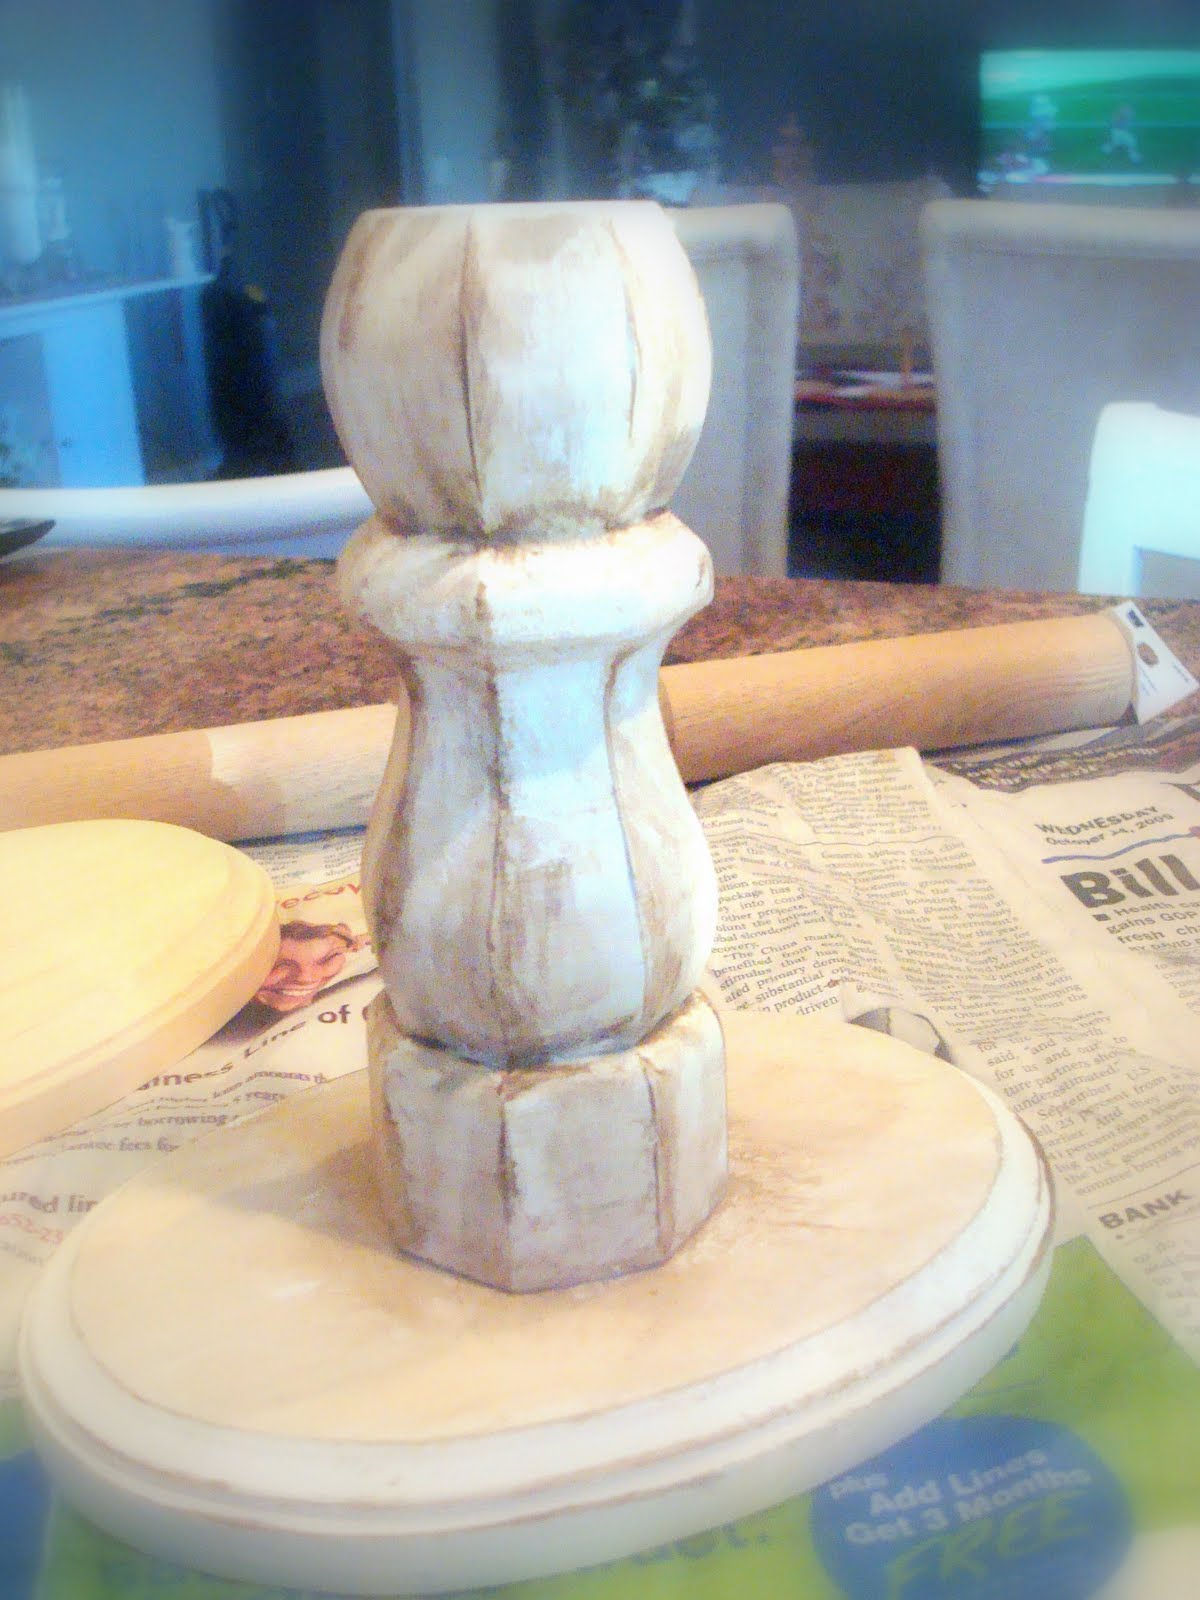
Then screwed it onto the wooden plaque like before.
(this one I painted and glazed for a different project but I'm using the picture here sorry)

I drilled a hole at the top of the leg and one in the bottom of the frame or board, basically whatever you're using.
I used a board for this one. You can find As-Is boards really cheap at Home Depot or Lowes and they will cut them for you for free!
I spray painted white and Mod Podged on some cute scrapbook paper.
Put together.

The top is a wooden final you can buy at Hobby Lobby or Joanns.

Complete! You can also add a little clip to the top if you want to use to hold pictures or recipe cards.

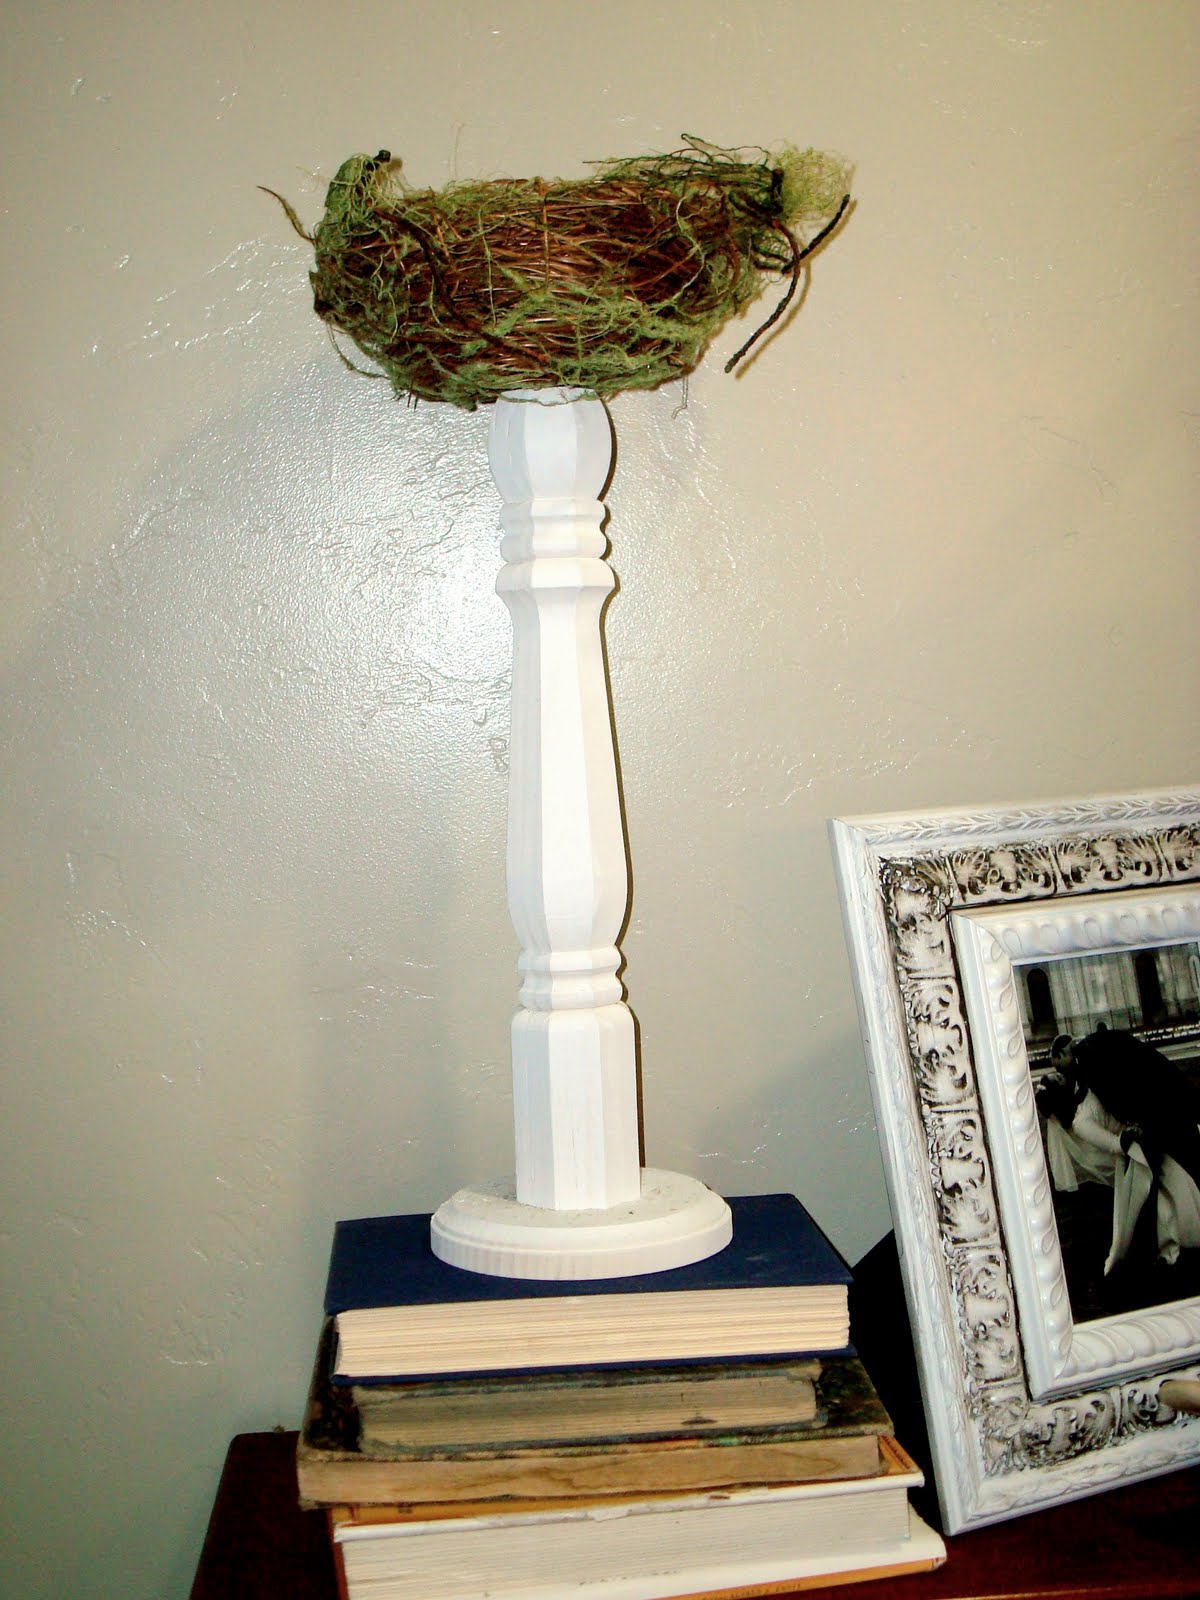
I loved the legs so I decided to top a couple of them with bird nests!


Monday, February 7, 2011

Picture Frame Stand Tutorial (I'm still trying to think of a cute name for these....)


Hi! It's time to tell you how I made these great picture holders.
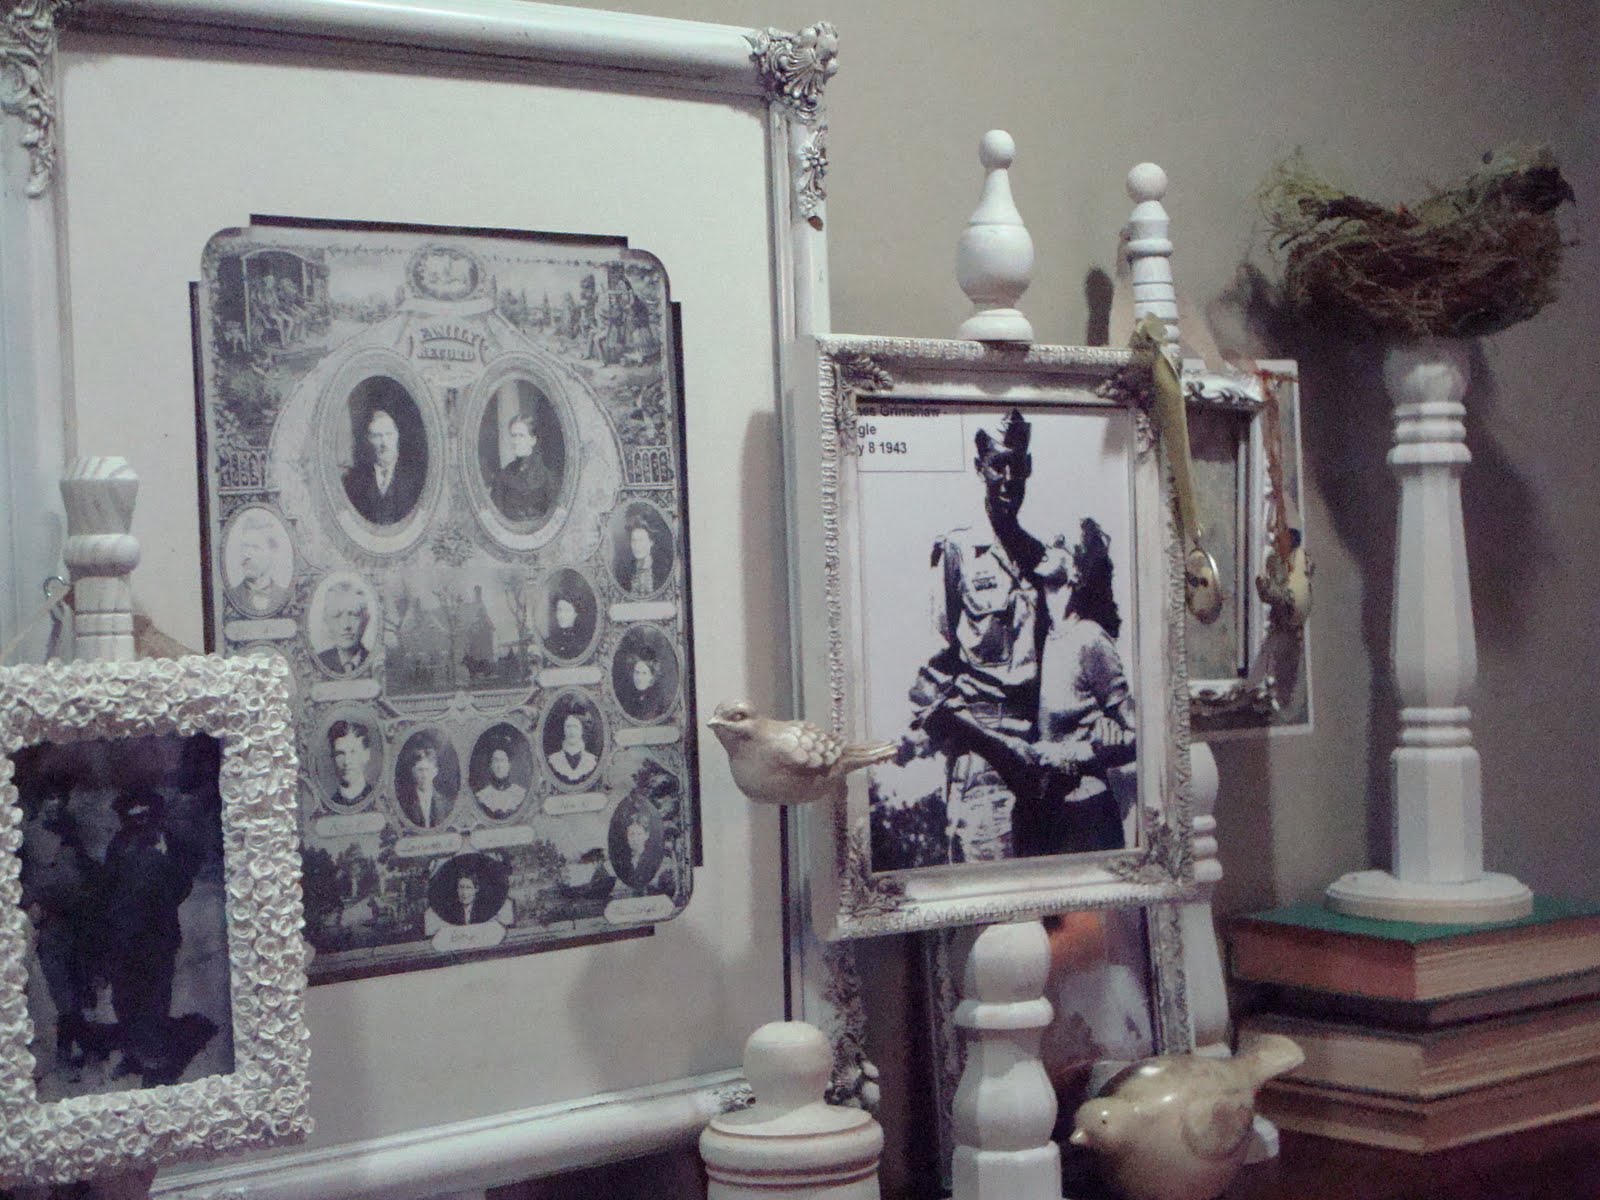
To see the story behind the mantle and each picture go HERE

For awhile I wasn't going to give a tutorial on how I made them because I thought I might try selling them on ETSY, but I have my hands full making and selling other stuff. So to the 91 (hopefully soon to be 100) followers, (A.K.A my favorite-est people in the world!) here it is! The first tutorial is on making these 3 stands.
The picture above has 3 arrows, the arrow at the top is pointing to a long skinny table leg. I used that one for these stands.
So I bought these table legs at Home Depot. They have all different sizes and they are pretty inexpensive. The plaques I got at Joanns and they have all sorts of sizes starting at .59 cents.


All the legs come with screws already in them. So drill a hole in the plaque where you want the screw and then screw in.
I screwed mine together and then spray painted white. I had to take it apart for a picture so obviously that's why it looks like that.

Ok, so you have your stand now. I wanted to hang my pictures from the tall stands so I took those little circle hooks with screws on the end that come in picture hanging kits. You can buy picture hanging kits anywhere. I got mine at the Dollar Store.
Then I took some linen or drop cloth and cut/ripped a piece about 1" wide. Strung it through the hook, then hot glued it onto my picture frame, then tied together in the back.
Ta-Da! The picture frames I got the thrift store. I also spray painted them white and then glazed them with black.
Ok I'll post the other one tomorrow!

Link Parties


The DIY Show Off

Wednesday, January 12, 2011

Hall Bath Make-Over (Frugal Style)

This bath needed some love! It was such a wonderful fleshy color when we moved in...infact the whole house was that color, got spend a month of my life covering up that little number.


Bathroom Before

Bathroom After
The paint is TurtleDove from Behr. It's a light blue with a little bit of a yellow-y/green undertone. It is my new fave. I want to paint everything this color!


Found these little shelves at the local thrift store for $1.


Spray painted them aqua from Krylon...


And glazed them black to add some aging and put one in my bathroom topped with this cute plaque from Home Goods.
(I've been learning to like pink, the Honeysuckle Pink that is 2011 color of the year is adorable, so I've added a little to the bathroom...babysteps!)


I love Vintage Carnival stuff and this pic was right up my ally! Love it! It's 18x36 and I got the frame, again at the thift store, for $4! That's a steal since it had glass!


I got this cute towel/coat rack at the DownEast tent sale $3, Their tents sales are the best for finding random things!
I added the "Family" "Friend" "Guest" "Acquaintance" "Intruder" lables. Now there's no confusion who hangs their towel where.


To learn how to make these cute Pillow Case Bags go Here!


I had this jar so I bought a pack of simple white soap blocks and filled it.


I had this basket so I hung it on the wall and clipped some vintages French ads to it.


For something different, I took this old frame and sprayed it the Krylon Aqua.


Then Mod Podged some different strips of paper to it.


Used it as a frame around the towel ring.


Now La Toilette is a more pleasant place to do your business!


Related Posts Plugin for WordPress, Blogger...