Sincerely,
Stacey

 Have you seen the adorable movie 500 Days of Summer? The character studied architecture and he did this to the wall in his room and it inspired me to do.......
 This to my wall!
 I loved how just the matte black look that I didn't want to draw on it but then once I started....
 It started to all come together. I wanted to draw something I love and represents me. I love architecture and after a lot of thought I decided to draw the Greek Architectural Columns.


 Then I decided to label the architectural elements. I wanted it to have a "blueprint" look.


 I started out with these drum lamp shades that came with the lamps. They were red to begin with but didn't match my room. So I recovered them in black (this was about 3 years ago) and now I wanted them white.
 So I had some white muslin about 28" wide. I folded it over the top about an inch and hot glued to the inside. Then I gathered, gathered, gathered until I came to the end and folded that underneath the bottom and hot glued to the inside.
 Then, where all the gathering and bunching was happening I pinned so that it would stay.
  Then I came back with some needle and thread and replaced the pins by stitching just a little bit to the fabric underneath. Do whatever you think is necessary but it really didn't take me many stitches. The fabric is staying really well.
  Ta-Da! So easy and so pretty!
 (go HERE and HERE to see how I made the pillows on my bed)


 Picture Stand
 For these I used the bigger tables legs.
 ,
,  I drilled a hole at the top of the leg and one in the bottom of the frame or board, basically whatever you're using.
  Put together.
 The top is a wooden final you can buy at Hobby Lobby or Joanns.
 Complete! You can also add a little clip to the top if you want to use to hold pictures or recipe cards.
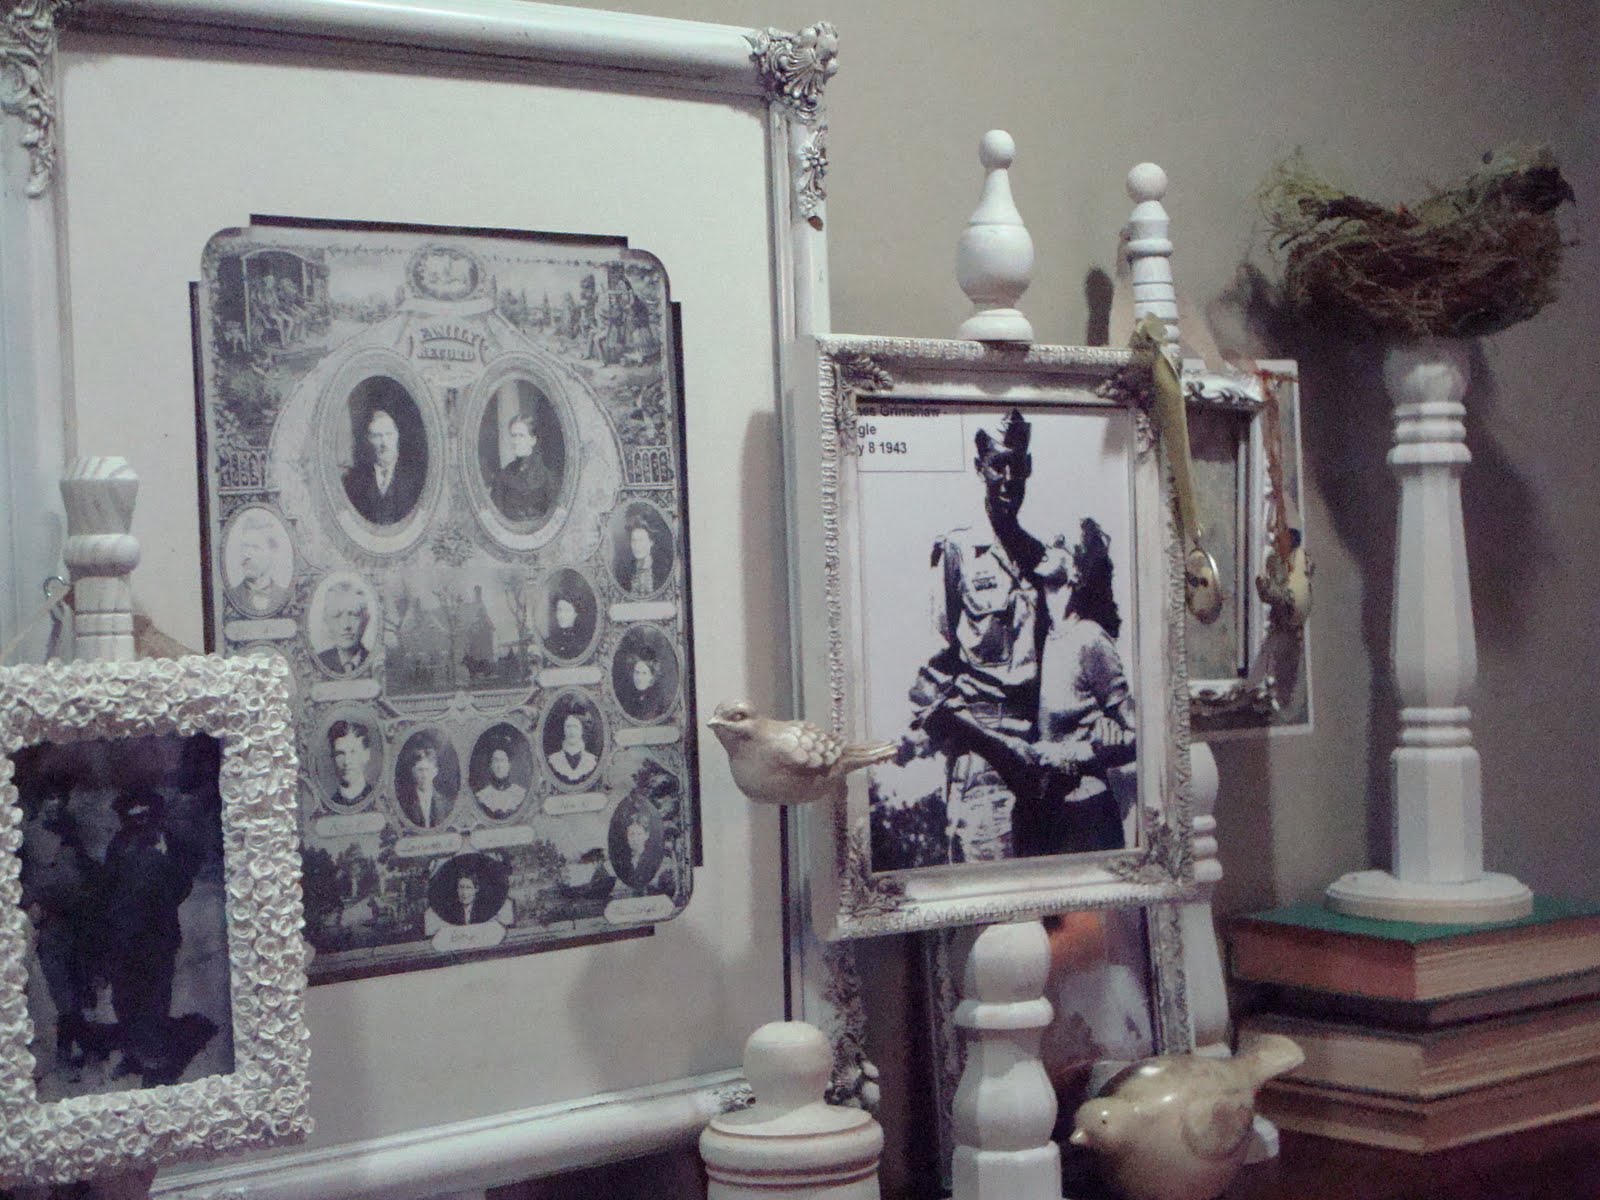 I loved the legs so I decided to top a couple of them with bird nests!
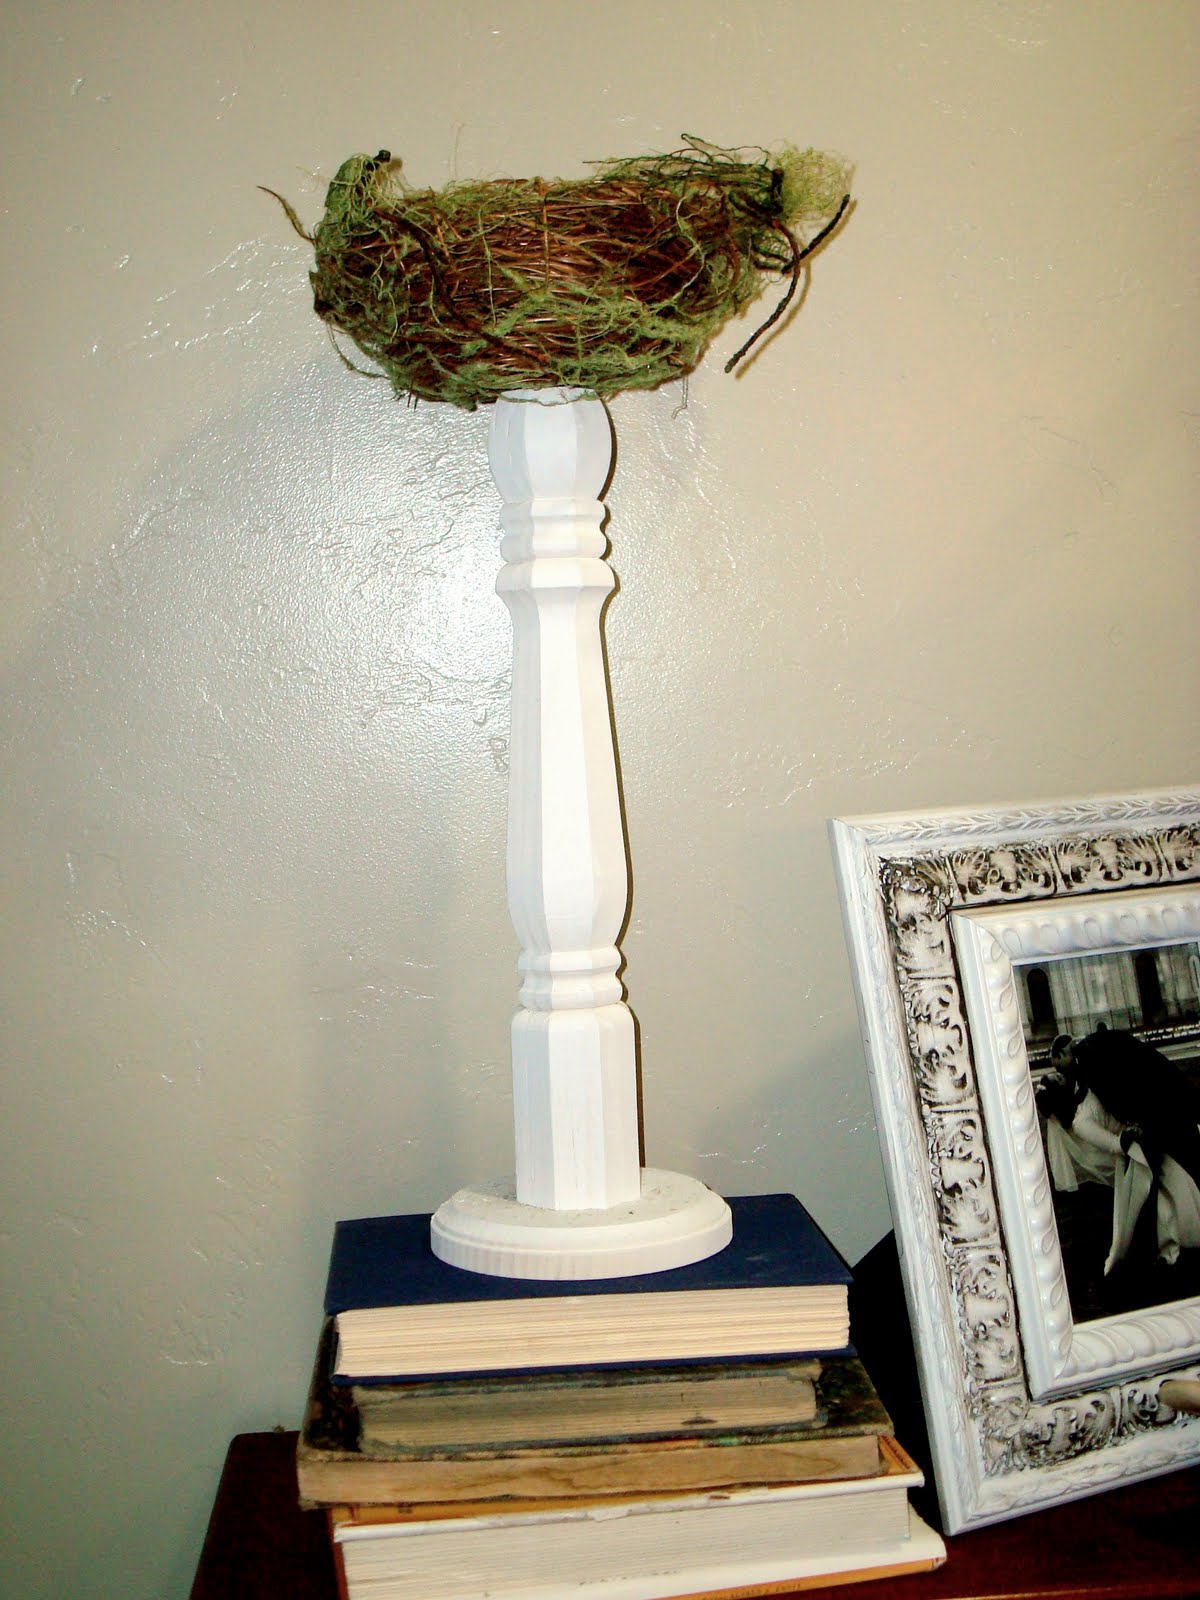

 The first tutorial is on making these 3 stands.
 The picture above has 3 arrows, the arrow at the top is pointing to a long skinny table leg. I used that one for these stands.
  All the legs come with screws already in them. So drill a hole in the plaque where you want the screw and then screw in.
  Ok, so you have your stand now. I wanted to hang my pictures from the tall stands so I took those little circle hooks with screws on the end that come in picture hanging kits. You can buy picture hanging kits anywhere. I got mine at the Dollar Store.
 Then I took some linen or drop cloth and cut/ripped a piece about 1" wide. Strung it through the hook, then hot glued it onto my picture frame, then tied together in the back.
 Ta-Da! The picture frames I got the thrift store. I also spray painted them white and then glazed them with black.
