 Made with burlap I painted it and then hand stitched the black lacey ribbon embellishment.

 Made with burlap I painted it and then hand stitched the black lacey ribbon embellishment.
 My hand stitched pillow of numbers.

 This is freezer paper you can buy at the grocery store. My little friend (silhouette) cut it out for me.
 I ironed the wax side down to the burlap and painted it with acrylic paint.
 The house pillows I did the same way with the freezer paper and then hand stitched the white lacey ribbon around the edges and stamped the words "cottage" and "dwell" on there.

 Pillows I made out of tablecloth, for more go HERE.


 For the big teal suitcas I did the cheveron pattern in white paint. I could have done it in vinyl BUT it's plastic and the surface is really bumpy so I knew paint would look better. It does, but I should have use the FROG tape that doesn't bleed. Some of mine bled and being the perfectionist that I am I had to come back with a fine brush and fix some of the lines. Also, taping it! Agh! A total nightmare on one side, but the other side went smoothly once I had the hang of the cheveron pattern.
 You can use Latex or Acrylic paint. Also,use a roller!
 I like it. I do need to touch up the front a little still.
 The next Medium I used is Paper and Mod Podge. This rusty suitcase has hard smooth surface so I knew that paper would work great on it!
 I found these 12x12 paper doilies at Roberts (or any scrapbook store)
 What I loved about this is that it went on easy and because the doilies were 12x12( but the suitcase is bigger )I had to use multiple papers and there were seams; BUT the seams are nearly invisible with the doilie paper.
 Turned out soo cute! I love it!
 Here is another one I Deco-podged with paper.


 So what is my point of doing this? Well I have them stacked in the living room. One holds toys, one holds quilts, and one holds magazines. You can use them hold anything!
 I'm loving it so far! I should also mention that the yellow one was once an ugly thing but I paint it with yellow acrylic paint. I just need to finish the black one and maybe add some tags with labels that tells what is in each one.... and maybe one more blue one.....


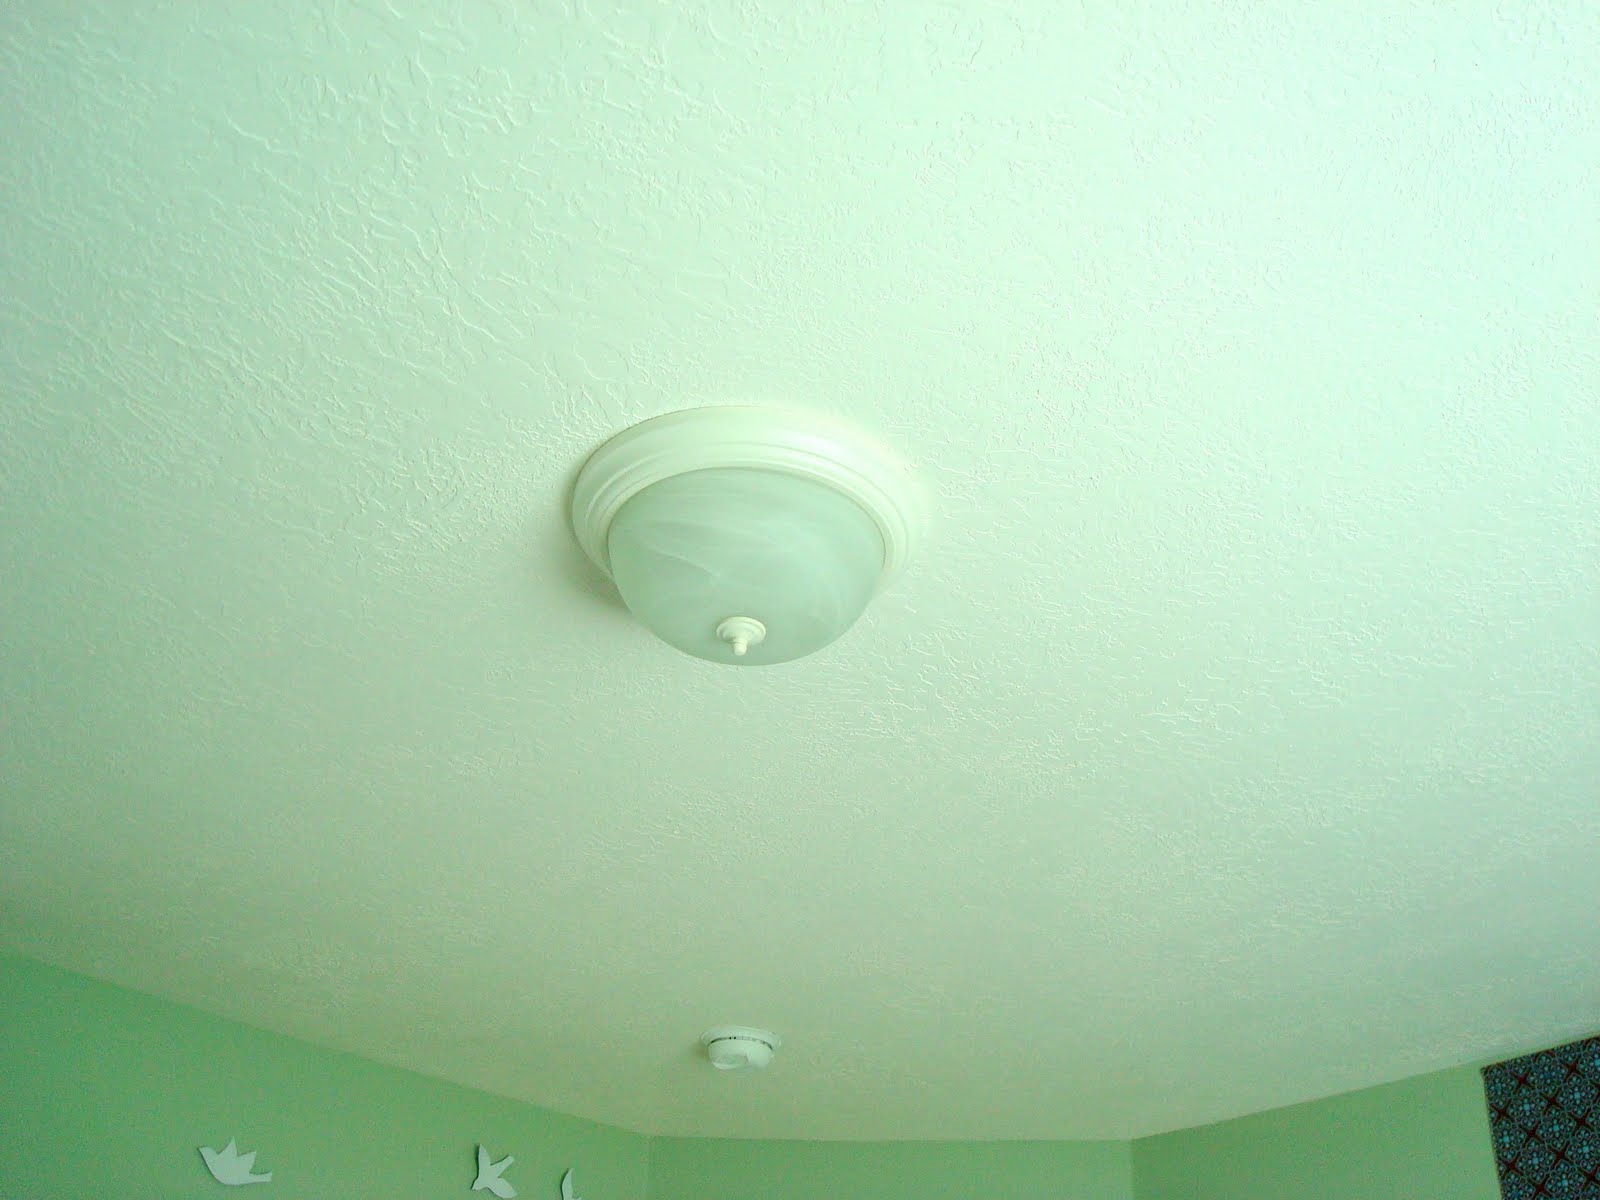 I wanted to replace this "pretty" light with ever a more pretty one.
 I found this beauty for $4 at D.I. Buying lights at thrift stores is a risk, but for $4 I figured even if it didn't work the money would go to a good cause.
 Here is where I pulled out the big guns and I, yes I, did all the electrical work myself. It seemed scary at the time but now I know that it's easy and anyone can do it! First thing though, make sure you turn off the power to the lights! Next, when taking down the old light, try to remember where each wire goes. There's usually 2 wires to the light and then one for hanging up the light.
 The chain needed some help so I decided to make a "slip cover" for it.
 This is me up on the ladder, hooking up the wires! Whoa, carefull now.
 SUCCESS!!
 Later that week, I was at DI again and they had these chandelier shades for only .75 cents and they were in great condition. Ta-Da!....but don't you think that it should be yellow and maybe I should take the fabric off the shades?
 And this beauty became mine after I saved if from the side of the road. The cute old man throwing out said it belonged with me and had been there waiting for me.