 Before. These lovely Wing Back Dining Chairs I bought 2 at DI for $15 dollars each.
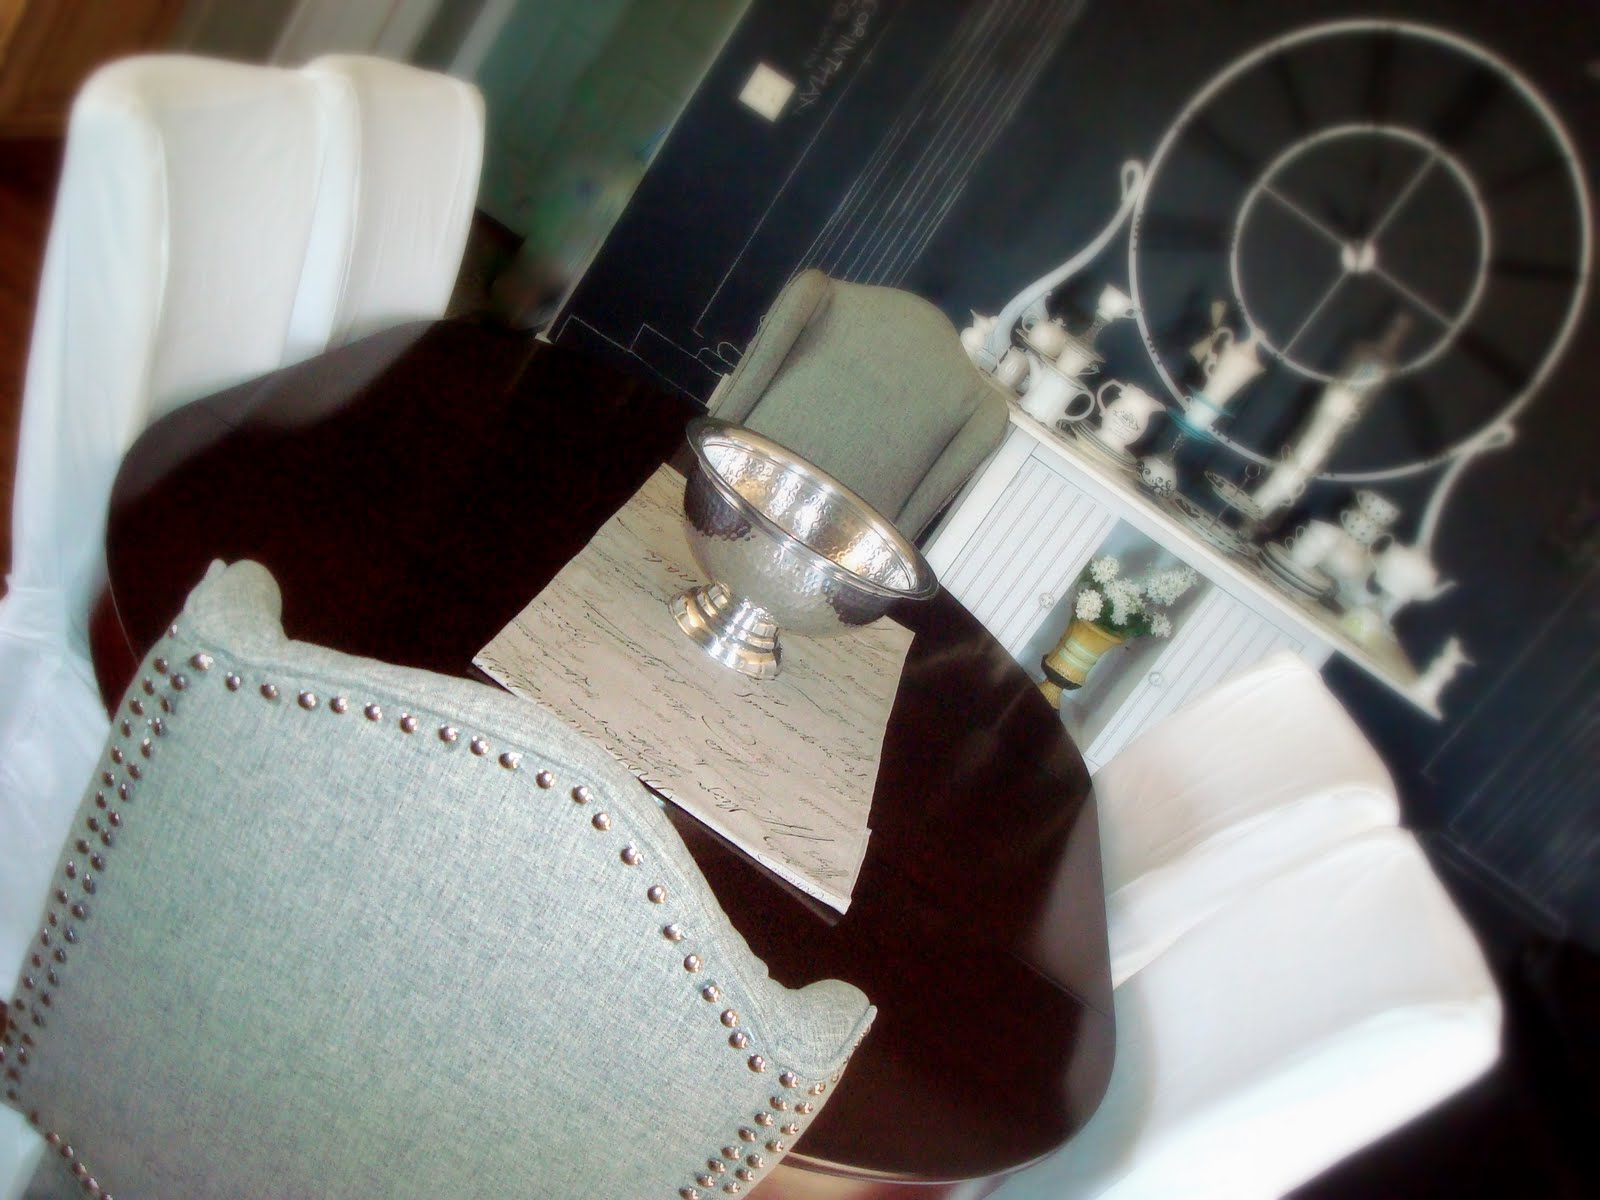 AFTER! I found this beautiful woven upholstry fabric Home Spun fabrics for $3.99 a yard.
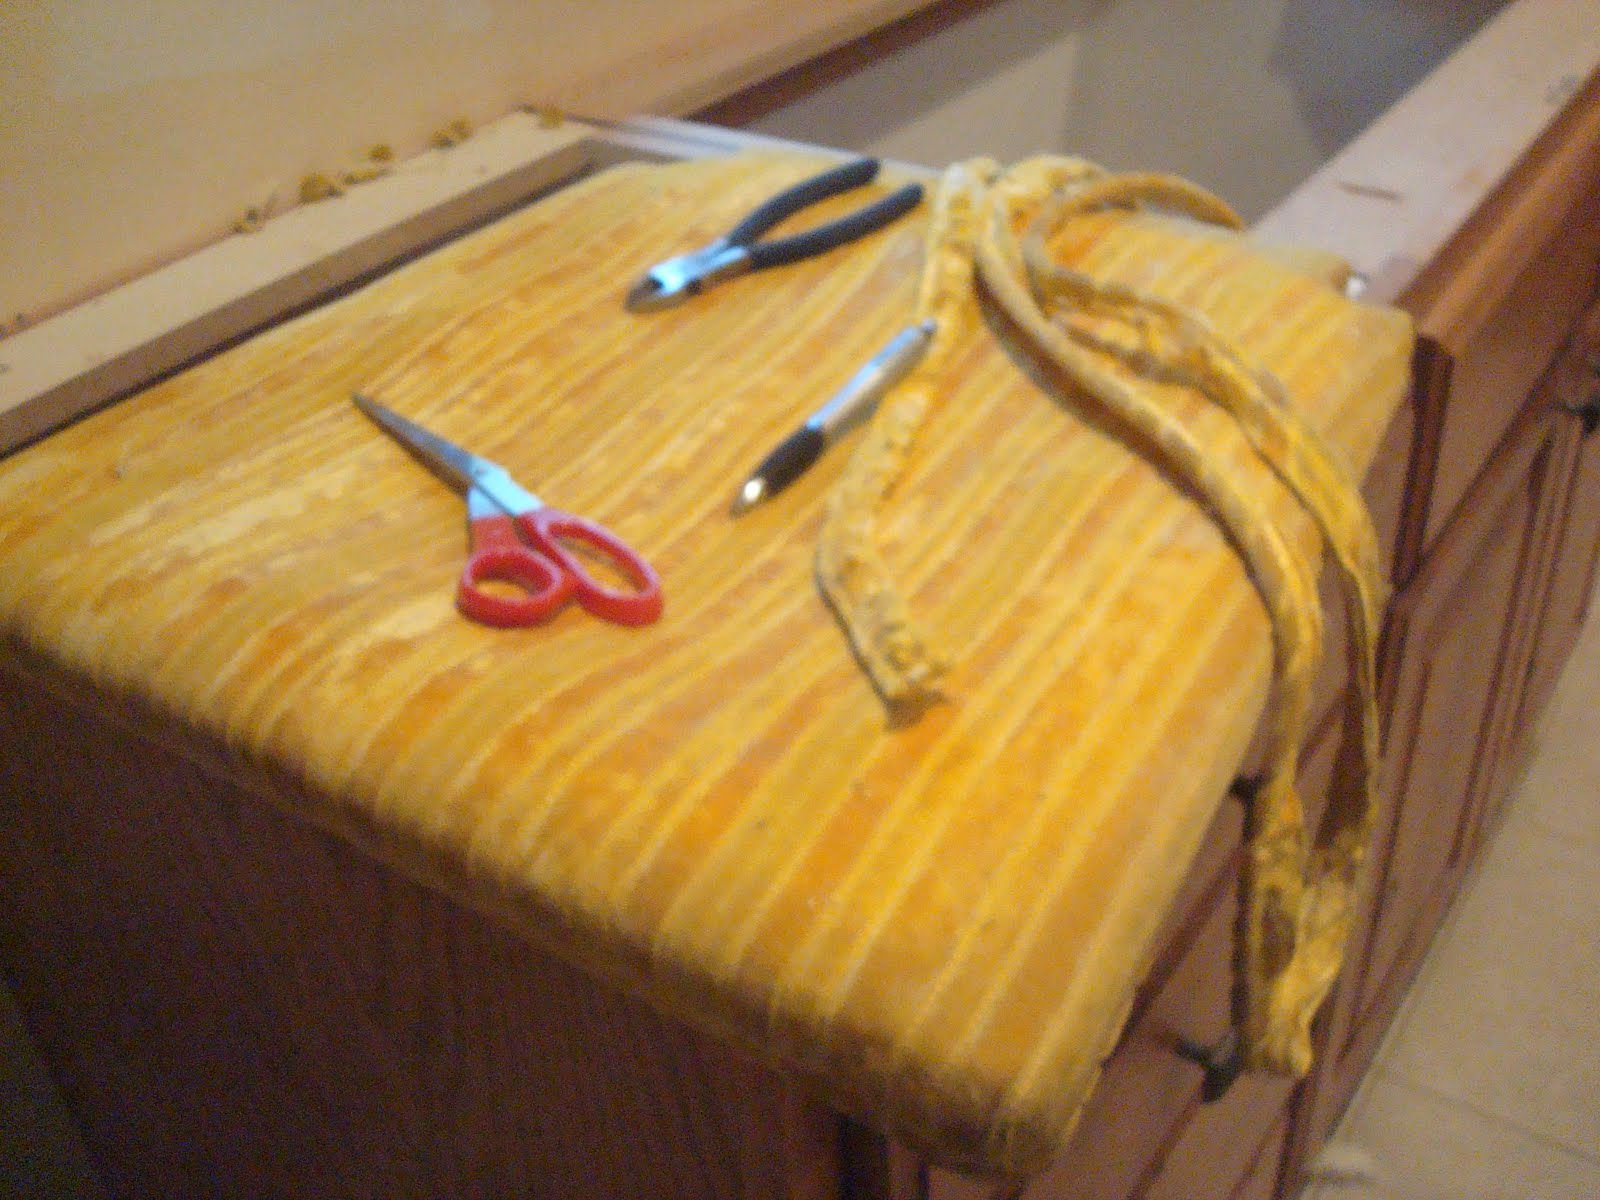 So here is the stripping of the old! Thank goodness for parents right?! My mom was here and is a master of stripping old seats. She could do it fast but still keep the old peices in tack! How? oh I don't know because she only totally re-upholstered a MOTOR HOME by herself. Yeah, she's that good.
 Eww, I like yellow as much as the next person, but no.
 This is mom working behind the chair, doin' her thang! I dilegently took notes like a good pupil.
 Then I spray painted the legs High Gloss White, then did a clear Laquer. I didn't feel like I wanted to glaze these.
 So when re-upholstering, try to keep the pieces as templates. Here is the seat. Now, like everything on these bloody chairs, it was complicated. It wasn't just a seat. It was was tufted pillow top on top of a seat. So after I re-upholstered I had to connect the two, but we'll get to that later.
 Here is where I traced the darts with chalk. This was my first time doing darts! Have you ever done darts? Not as scary as I thought it was going to be...but connecting the 2 together with piping...now that was a beast!
 Sewing the piping. Simple to do piping. You can buy the cords at any fabric store in the drapery/upholstry section. Then using your zipper foot sew a piece of fabric tightly around it.
 So here is the finished seat, with the pillow top on top of the hard seat. The hard seat I just covered and stapled to the back, that was easy. The pillow top had 3 parts (like I said, a beast!) First the darts, then sewing the piping to one side and then sewing the sides together. I FAILED the first time because my darts didn't match up. So I had to unpick and shorten my darts and try again! But when I did the second chair I had the experience to take notice of my darts.
 Next, using chalk, I marked where I wanted to put my tuffs. Oh gee's, even the thought of what comes next makes me shudder....
 So here is my 12" upholstry needle with a 4blade tip sounds deadly right? Doing the tufts were different then normal, because like I said before, there was the pillow top that had to be connect to the seat and that was done by the tufts. So I had to go through 2 big masses. Oh the horror! Well on my first attempt I proceeded to go through both but then kept going until it stabbed my thigh. Yeah, it hurt. Like a mother.
 Well, many nights and 7 Harry Potters later, I finished my tufts!
 Of course I still had to put my buttons on. I did my own buttons by buying a button cover kit at Joanns. Really simple and kind of fun.
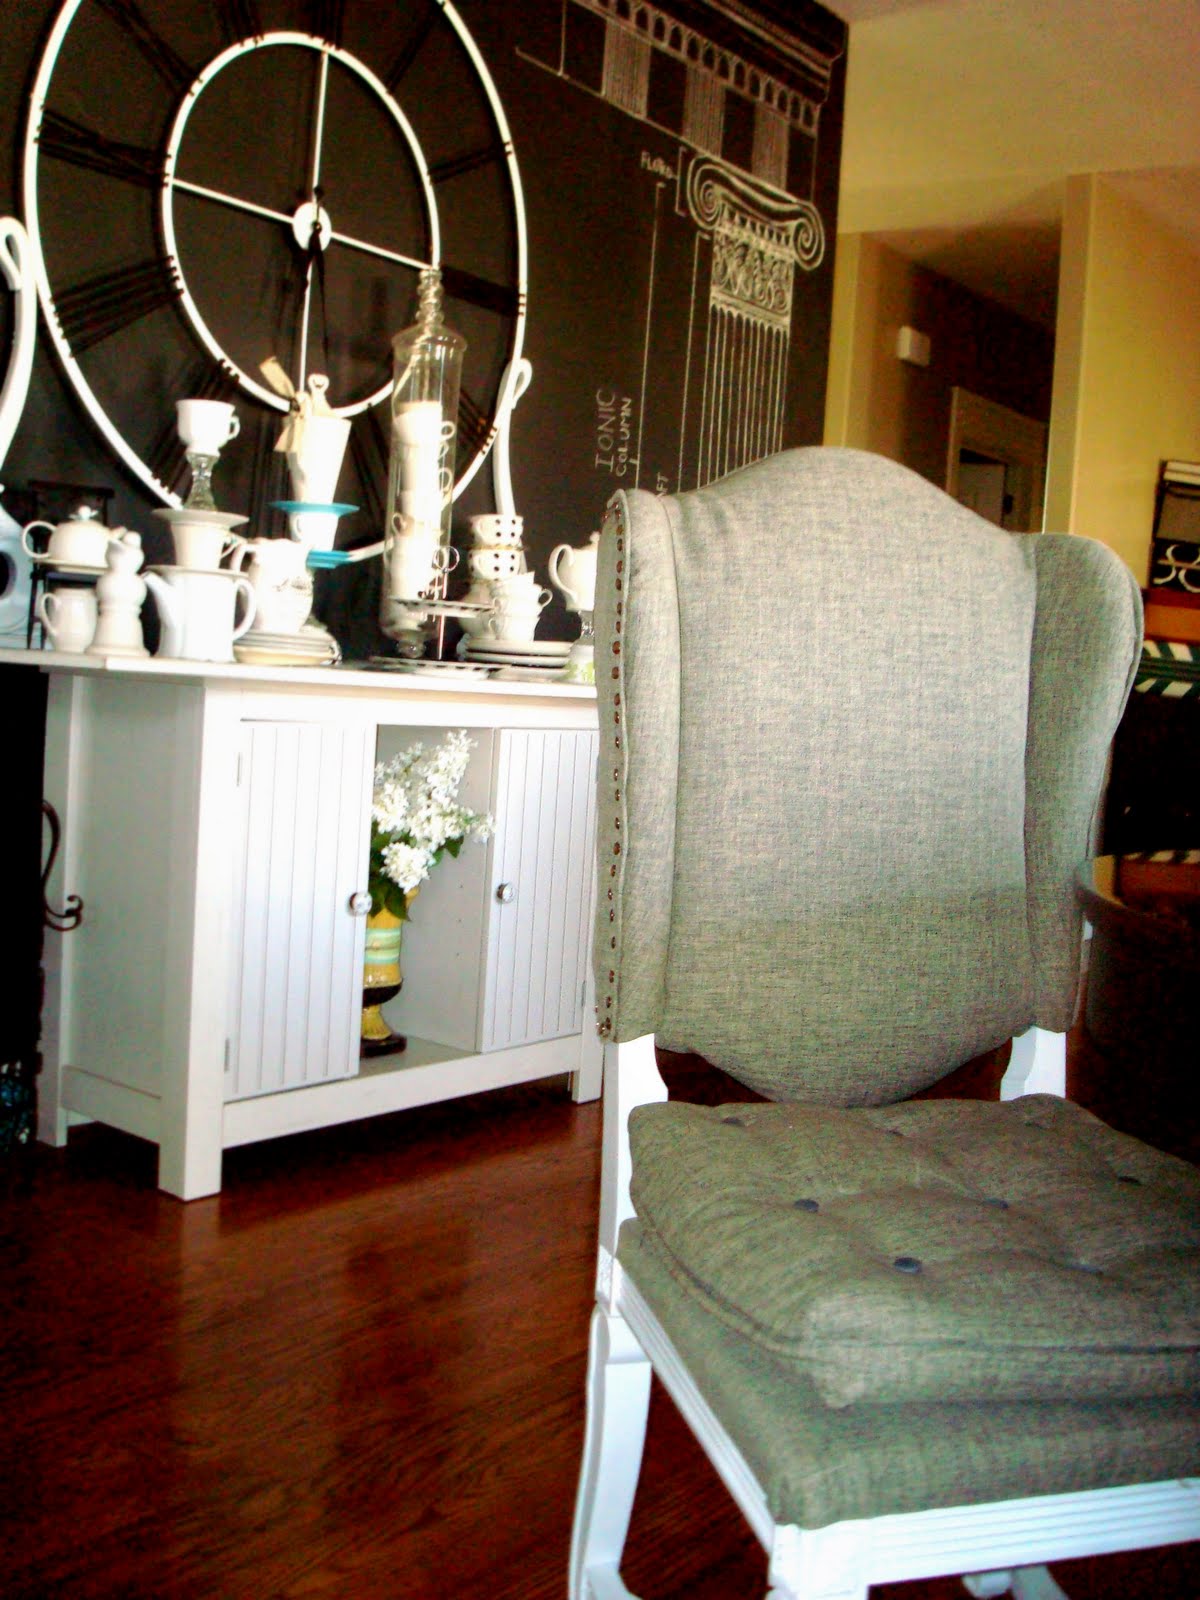
 Ok, on to the wing back chair! I know, I always have to pick the most complicated learning project. I couldn't just find a normal backed chair? Oh well, I feel some what like a master now ;)
  But I still had to staple on the piping.
 Stapled piping.
The front/middle I did the same way, pulled around taute and stapled.
Now, I had to put the backs of wings and the back on. This actually had to look good, no more staplin' staples willy nilly! I folded it under to hide the raw edge and stapled every few inches evenly. This is the back, I added some batting to soften the frame.
 So here is the finish back and sides with the staples showing and I proceeded to cover those with nickel nail heads. Oh nail heads how I hate thee. I tried 2 different ways because the frame was to hard to actually nail the nails into it., they would just bend.
 Finally I just embraced the bending and I put the tacks in at an angle and then hammered them and purposely bent them. They're for decoration really, because the staples hold the fabric taute and the nails cover the staples.
Some I even cliped off the tack part and just "bedazzeled" them on with glue! ha! I win!
 All I can say is thank goodness they're done! I think my husband is glad too.


Oh my, this was really complicated, but you did a fantastic job. They look amazing. Hugs, Marty
ReplyDeleteI thought you had reupholstered chairs before. Anyway they look fantastic. This is something I really look forward to when I get my own house is to do these sorts of projects. I'm glad I know who to call with questions.
ReplyDeleteYou did such a professional looking job! The chairs look amazing and I'll bet very comfortable at your table. Isn't it nice to be finished with such a time consuming project? (I wish I had your patience.)
ReplyDeleteThis looks hard but you pulled it off and the chairs look amazing. I love the fabric and the nail head trim. They look very dramatic against your chaulk board wall. What an incredible transformation!
ReplyDeleteI'm tired just reading this...shesh! You're amazing! Love it!
ReplyDeletewow you did a great job the look great at the dining table xx
ReplyDeleteThose are awesome! Upholstery is hard work, but this post does make me want to finish that half-started upholstery project I have going. And yes, diet coke and movies are crucial for long upholstery projects! Keep up the great work!
ReplyDelete