
We're Designers. We like to Decorate, while we Eat Chocolate.

Monday, March 28, 2011

Experiment. Using different Mediums on Suitcases.

Hello there! This has been the project I've been up to lately that has made me neglect you. I'm not even finished with it yet, but I wanted to show you what I've done so far.
A fun and different way to store things, other than baskets. Not that baskets are bad, I have my fair share here too!


I did a little thrifting at the D.I and found these beauties. About $2 each (much cheaper than a basket might I add)
I decided to try different Mediums on each one because 1- They are different materials and 2- I thought it would be interesting to try.

For the black one I use Vinyl. Mostly because of the pattern. I knew I wouldn't be able paint this easily. Also, this suitcase's outer shell is some sort of a plastic-y fabric (technical I know) and I knew that painting it would be a mess.


I love how it's turning out. It's just a simple frame from the Silhouette website that I cut with my Silhouette. Yay Silhouette!

For the big teal suitcas I did the cheveron pattern in white paint. I could have done it in vinyl BUT it's plastic and the surface is really bumpy so I knew paint would look better. It does, but I should have use the FROG tape that doesn't bleed. Some of mine bled and being the perfectionist that I am I had to come back with a fine brush and fix some of the lines. Also, taping it! Agh! A total nightmare on one side, but the other side went smoothly once I had the hang of the cheveron pattern.

You can use Latex or Acrylic paint. Also,use a roller!

I like it. I do need to touch up the front a little still.
The next Medium I used is Paper and Mod Podge. This rusty suitcase has hard smooth surface so I knew that paper would work great on it!
I found these 12x12 paper doilies at Roberts (or any scrapbook store)
What I loved about this is that it went on easy and because the doilies were 12x12( but the suitcase is bigger )I had to use multiple papers and there were seams; BUT the seams are nearly invisible with the doilie paper.
Turned out soo cute! I love it!

Here is another one I Deco-podged with paper.


So what is my point of doing this? Well I have them stacked in the living room. One holds toys, one holds quilts, and one holds magazines. You can use them hold anything!
I'm loving it so far! I should also mention that the yellow one was once an ugly thing but I paint it with yellow acrylic paint. I just need to finish the black one and maybe add some tags with labels that tells what is in each one.... and maybe one more blue one.....





Photobucket

Wednesday, March 23, 2011

No I haven't posted this week, I'm lame. I hope to be done with this project I'm doing by Friday night so I can post it Saturday and get y'alls opinion. So check back! Until then Happy Crafting!

Friday, March 18, 2011

I earned an award!
And I'm so flattered because this blog HERE is the first design blog I ever followed, so it's kind of my first love.

Tuesday, March 15, 2011

Thrifty, DIY Lighting


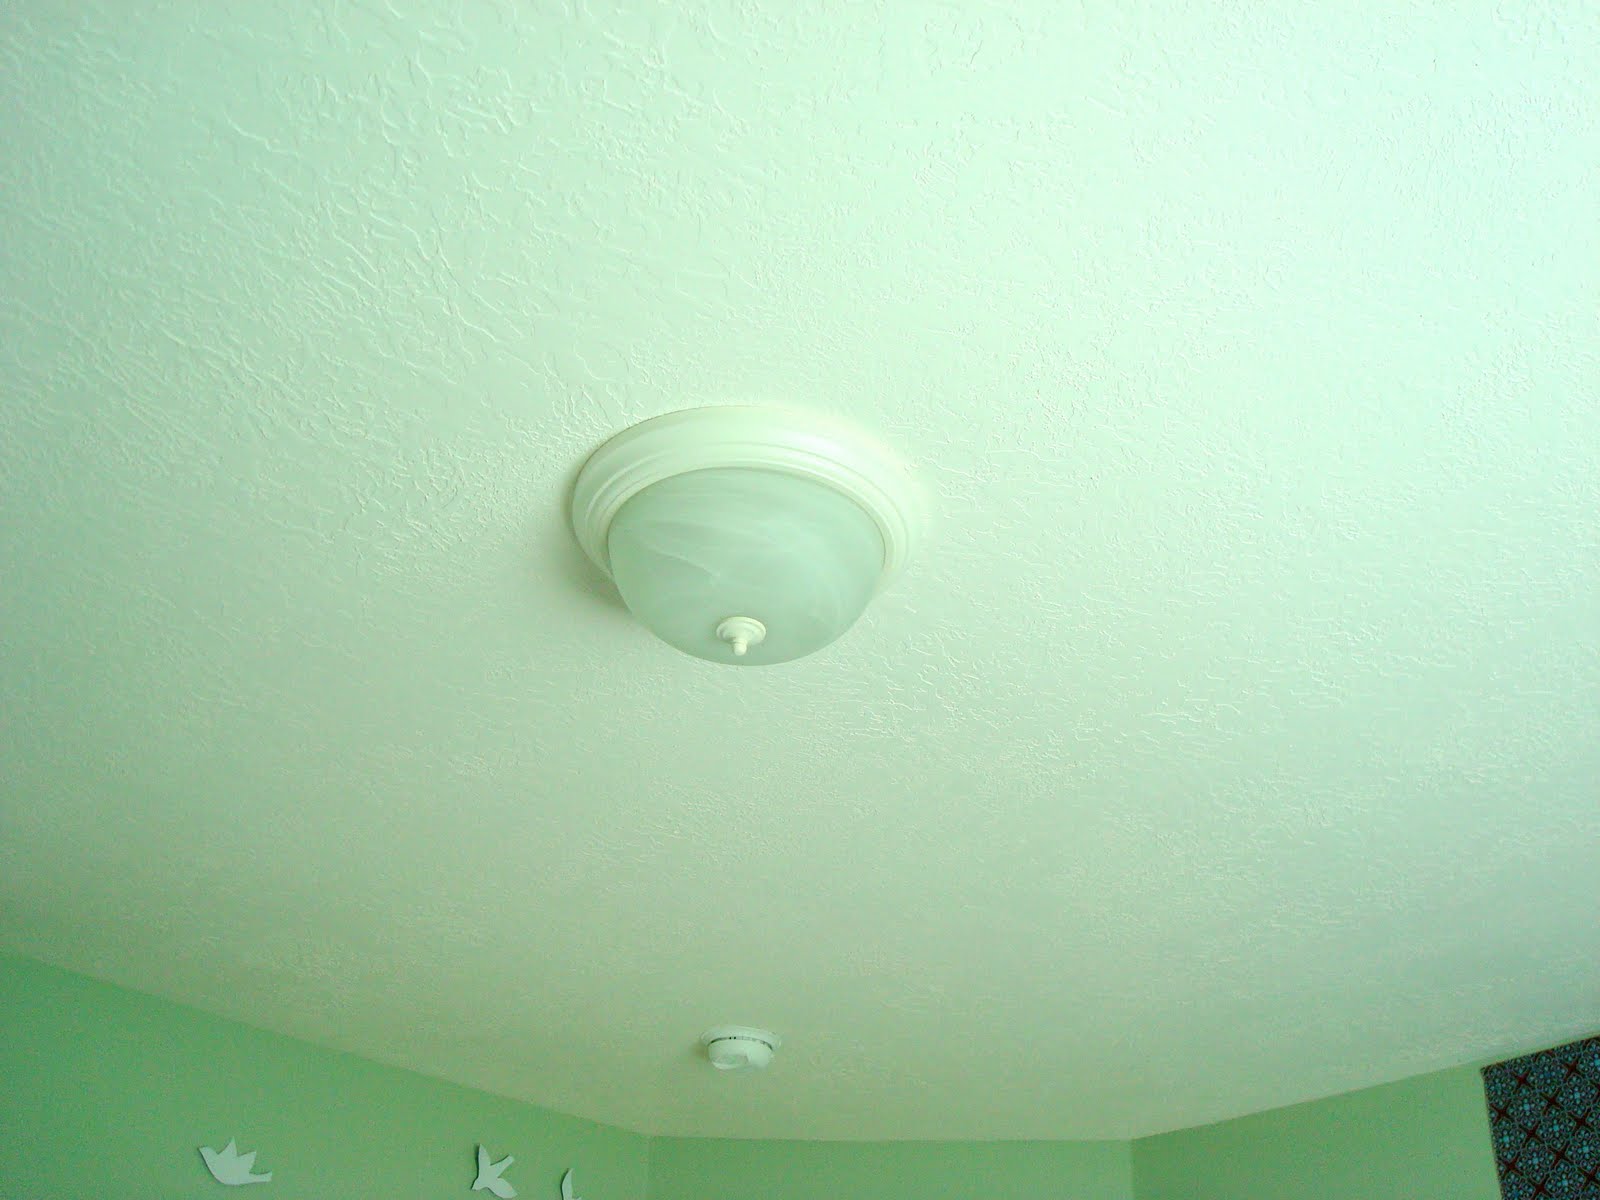
I'm kind of to the point with this post that I'm going to shot the computer since I wrote it up and then it got deleted so here it is in a very condensed version. I wanted to replace this "pretty" light with ever a more pretty one.

I found this beauty for $4 at D.I. Buying lights at thrift stores is a risk, but for $4 I figured even if it didn't work the money would go to a good cause.


So I spray painted it white. So much better. ...except I'm thinking I want to paint it yellow now.
Here is where I pulled out the big guns and I, yes I, did all the electrical work myself. It seemed scary at the time but now I know that it's easy and anyone can do it! First thing though, make sure you turn off the power to the lights! Next, when taking down the old light, try to remember where each wire goes. There's usually 2 wires to the light and then one for hanging up the light.

The chain needed some help so I decided to make a "slip cover" for it.

This is me up on the ladder, hooking up the wires! Whoa, carefull now.
So how did it turn out.....

SUCCESS!!

Later that week, I was at DI again and they had these chandelier shades for only .75 cents and they were in great condition.

Ta-Da!....but don't you think that it should be yellow and maybe I should take the fabric off the shades?

And this beauty became mine after I saved if from the side of the road. The cute old man throwing out said it belonged with me and had been there waiting for me.


Oh, and this thrifty light is also from an older post. check it out HERE.

Tuesday, March 8, 2011

Altering Curtains, To Fit My Needs! (and wants)


In the mist of my mommy duties with play-doh on my hands (and in my nails! does anyone else hate that!?) I thought I'd try to get a post in. Don't spend the money on new curtians if you already have cute ones but they're to short.
The naked window in need of some dressing up!
So I hung on these curtains that I already had and love in my sons room but they were to short for the 9ft. ceiling and I wanted floor to ceiling curtains (rule of thumb, they always look the best) What to do, what to do?
So I bought this adorable fabric at Joanns. I didn't want to splurge on expensive fabric for this project, and using a 50% off coupon it was $5 a yard and I only needed a little more than a yard. Now this is where I kick myself because see this is one of those projects where I started it and then came back to it (I know none of you do that). So pictures I thought I had taken I hadn't! But basically I just hemmed the fabric to the bottom of the existing curtain.

Step 2- Next I wanted to hide the line where the polka dots meet the circles so I took a color from the fabric, being the yellow, and created a "band" about 3inch wide and sewed it to the curtian.

I wanted the band to be different instead of being just a plain piece of fabric. So I actually sewed 6 inch strips together with the seam side out for a little dimension.


Ta-Da! Sew easy! Anyone can do it. Like I said these were in my sons room, but you could make any curtain your own by doing this to a solid color curtain panel ( like one at Target) and then adding some fabric to the bottom.

His room is still a work in progress but I'm almost done!
Go HERE to see some art I've already done.

Wednesday, March 2, 2011

Happy National Craft Month!

I meant to post this yesterday but honestly I started reading a book and couldn't put it down. So here is my crafty post today, and maybe, hopefully a lot more crafty posts this month to come! I'll just have to become illiterate.

DIY Door Knob Picture Hangers

I was wanting to add some more family pictures to my door that hangs on the wall, down the hall. Go HERE to see older Door on the Wall post.
I bought these at Home Depot in their molding department, by the fireplace mantel kits. I spray painted them white. I can't remember what they're called. Anyone?
I got a 5" sq and a 3"sq.
Then I glazed them black.
Next I added this picture claw to the back. These are found in any picture hanging kit. I mentioned before you can get them at Dollar Tree or Walmart.
Next I screwed in the knob. These knobs I got at Hobby Lobby. The trick is to take a screw driver and drill a hole in the middle of the square but try not to go all the way through. Then just screw in the knob. It obviously did not screw all the way in but I didn't want it to.....
Then I hung it on the wall! So easy (but use good screws into anchors on your wall because between the wood, the knob and picture it's quite heavy).
So where the exposed screw is is the fabric the hangs the picture sits.
I took picture frames I already had and I hot glued some drop cloth on the backs and then just tied at the top.


Ta-Da! This frame is also hung on the same way but farther down and on a different wall. So there would be some sort of unity to the madness!
Stacey
p.s. the window at the bottom is no longer there. Last min. changes you know how it is!

Tuesday, March 1, 2011

I LOVE Whipperberry

I wanted to take a moment to say that out loud! www.whipperberry.com is an amazing website! They ladies there are sooo talented!
So check them out


Oh and they featured my chalkboard wall on there website yesterday, so thank you to them!
Stacey
Related Posts Plugin for WordPress, Blogger...